This post may contain affiliate links, which means we’ll receive a commission if you purchase through our link, at no extra cost to you. See our disclosure here.
Read below to learn how to make a beautiful charcuterie board every time, with just 5 simple steps!
If you don’t already know, we love an excuse to make a charcuterie board! Charcuterie boards don’t require a lot of kitchen skills to put together and are great for impressing guests at gatherings. After much practice we have a perfect formula to make a board look beautifully effortless every single time!! Trust us, you’re going to want to know these tips so that you can create any board in a matter of minutes!

We have been making boards for years for friend and family gatherings and have developed a simple rhythm of making them. We have 5 tips that we swear by when making our boards that will give you a perfect board every time.
What is so great about Charcuterie boards?
They are great for pleasing a large gathering. You can mix so many foods and flavors on one platter. Charcuterie boards can be a mix of savory, salty, sweet and sour flavors.
You don’t have to worry about long prep time. For the most part, prepping a charcuterie board involves breaking open some packaged snacks and slicing some veggies and/or cheese. If you have enough time to add some baked goods to your board, feel free to do so!
You can make them any size. If you are entertaining a couple people, you can opt for a smaller board with fewer foods. If you have a larger gathering, create a larger board with different types of crackers, cheeses fruits.
One of the trickiest things about creating a charcuterie board can be the arrangement. But lucky for you, we have 5 tips for creating a beautiful board. We love to make our boards look effortless but also visually interesting! It is NOT as hard as it looks!
Our favorite boards for Charcuterie:
Marble and Brass Round Board

Tondo Serving Boards

How to Make a Beautiful Charcuterie Boards Every Time
1. Start with your contained items.
Your contained items will be in bowls or smaller containers on or around the board. Placing dips, small finger foods, sauces in bowls or even mugs can be placed first. For smaller boards, we recommend using one small bowl on the board and leaving other bowls off the board. For larger bowls, you can place 2-3 small bowls on your board.
2. Next, add your larger items or bunches of food.
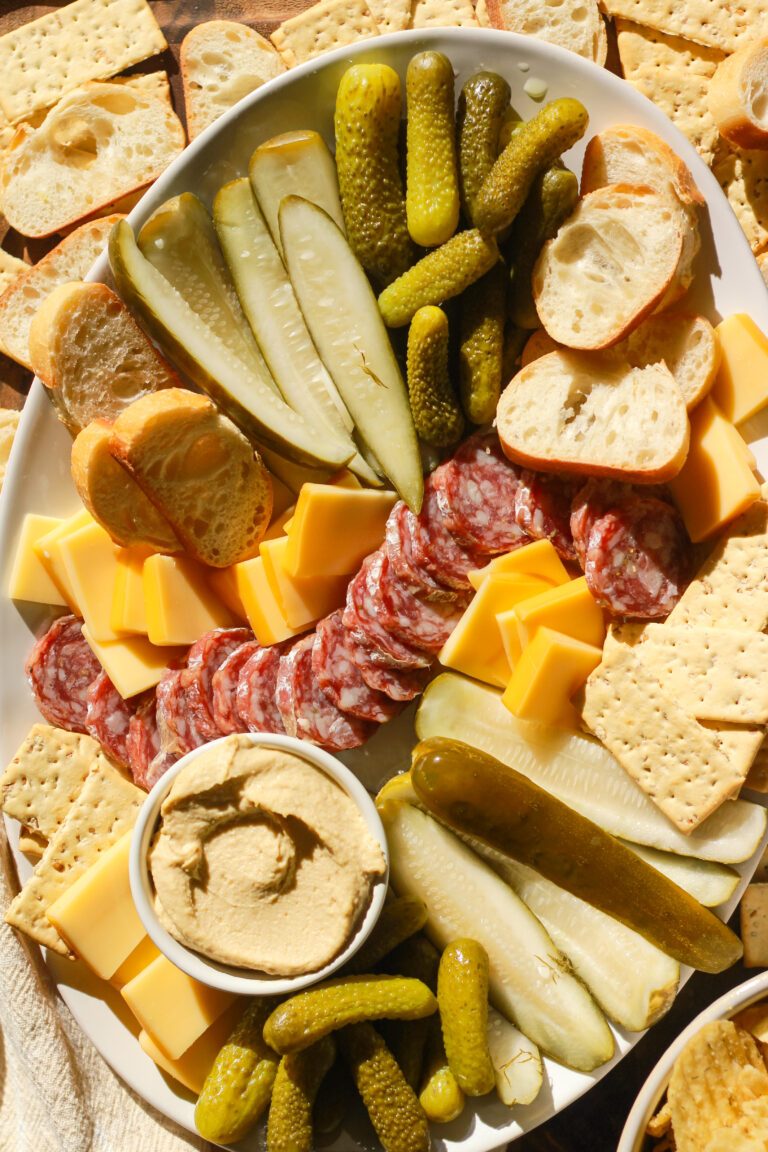
After you have your ‘contained items’ place your larger bunches of foods. Large bunches of grapes, cured meats, larger cookies, can serve as bulkier items. I like to create some symmetry with bulkier items and place them on either side of the board, as seen in this Thanksgiving Charcuterie Board.

3. Create a wave through your board.
One of the easiest ways to add visual interest is to add a “wave” throughout the center of your board. We place crackers and cookies in a curved line across the board to create visual in a lot of our boards. This also break up your board into different sections.
4. Add different textures and colors.
Get fun and creative with what you add to your boards. One of the most fun ways we do this is to cut slices of cheese into different shapes with small cookie cutters. You can see in this Valentines board, we broke up the light colors of the crackers and cheese with darker pieces of biscotti and missing in festive ‘X’ & ‘O’ shaped gummies.

5. Fill in the empty space with smaller items.
After you have placed you larger items like chopped veggies, crackers, cheese and cookies. Layer and fill in any gaps in the board with you smaller items such as berries, nuts, candies. We made this Pizza Charcuterie board for some people we were having over and filled the space to the brim!

How to make a beautiful charcuterie board every time with these 5 simple steps.
Print5 Steps to Make a Beautiful Charcuterie Boards Every Time
- Total Time: 13 minutes
Ingredients
Instructions
- Start with your contained items. Your contained items will be in bowls or smaller containers on or around the board. Placing dips, small finger foods, sauces in bowls or even mugs can be placed first. For smaller boards, we recommend using one small bowl on the board and leaving other bowls off the board. For larger bowls, you can place 2-3 small bowls on your board.
- Next, add your larger items or bunches of food. After you have your 'contained items' place your larger bunches of foods. Large bunches of grapes, cured meats, larger cookies, can serve as bulkier items. I like to create some symmetry with bulkier items and place them on either side of the board.
- Create a wave through your board. One of the easiest ways to add visual interest is to add a “wave” throughout the center of your board. We place crackers and cookies in a curved line across the board to create visual in a lot of our boards. This also break up your board into different sections.
- Add different textures and colors. Get fun and creative with what you add to your boards. One of the most fun ways we do this is to cut slices of cheese into different shapes with small cookie cutters or finding fun shaped crackers or candies.
- Fill in the empty space with smaller items. After you have placed you larger items, like chopped veggies, crackers, cheese and/or cookies. Layer and fill in any gaps in the board with you smaller items, such as berries, nuts, candies.
- Prep Time: 5 minutes
- Category: Appetizer, Breakfast, Dessert, dinner, Lunch, Snack
- Cuisine: American
This post is all about how to make a beautiful charcuterie board every time!
Other Posts You May Like:
Simple Breakfast Charcuterie Board: How to Make Your Own Charcuterie Board
Easy Spicy Mexican Charcuterie Board for Cinco de Mayo
28 Gorgeous Neutral Kitchen Decor Items to Refresh Your Space


One Comment
Comments are closed.