


This post may contain affiliate links, which means we’ll receive a commission if you purchase through our link, at no extra cost to you. See our disclosure here.
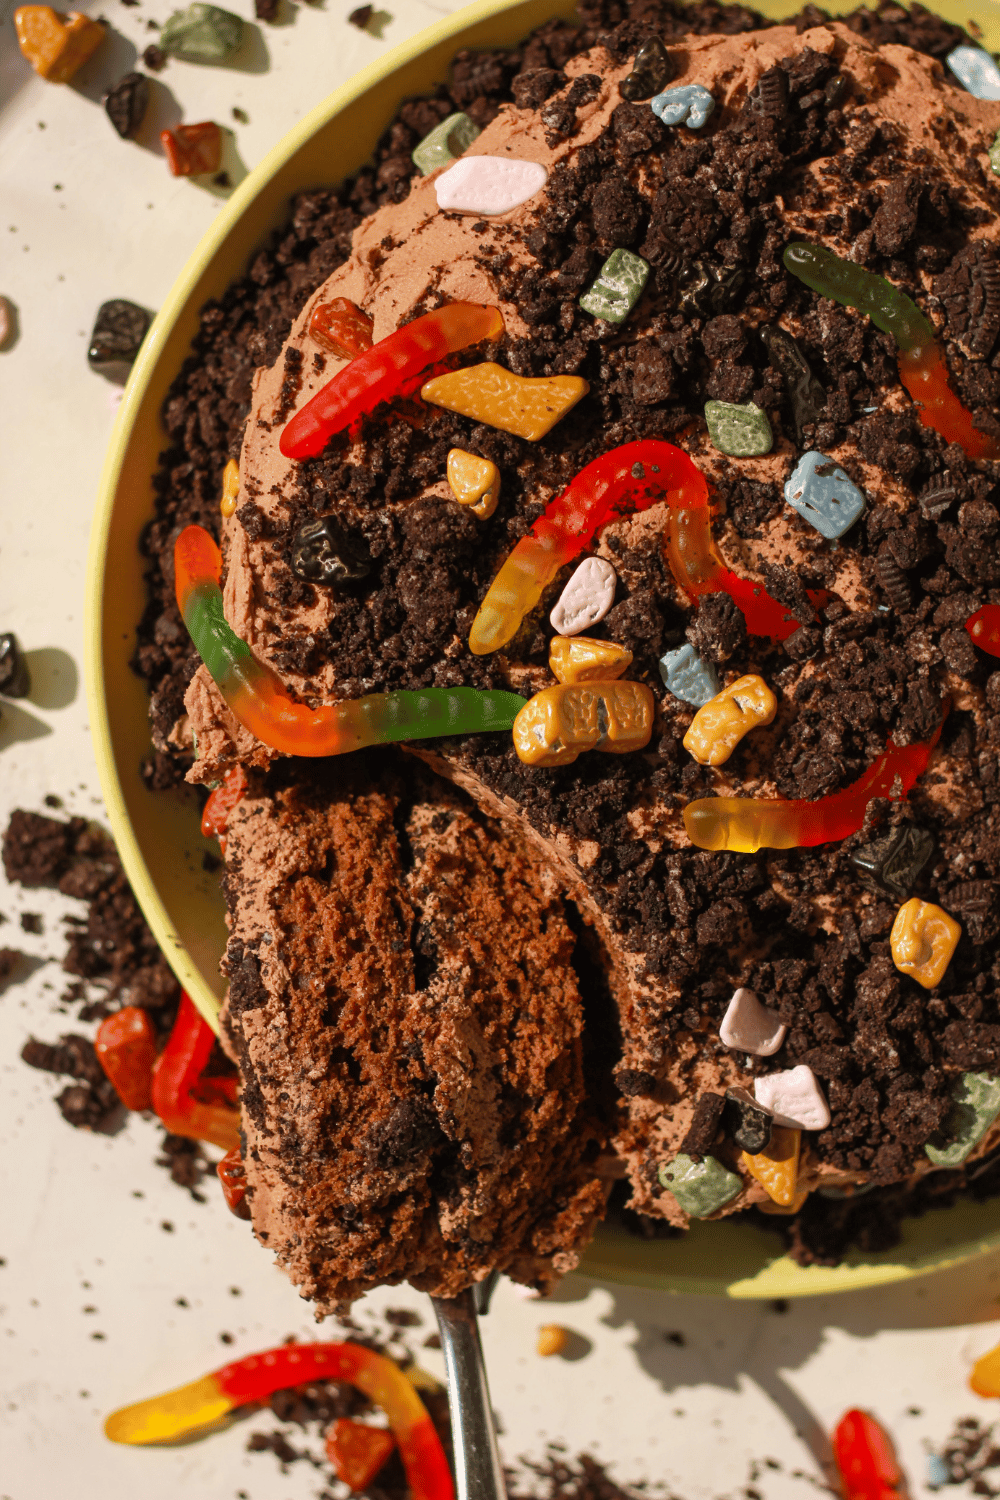
Remember dirt cups? A little bit of spooky mixed with whimsy! This Teenage Dirtbag Cake is basically the grown-up version nostalgic childhood dessert but layered into a cake that’s meant to be scooped. Its a bit messy, nostalgic and a little ridiculous – which sounds perfect to us!
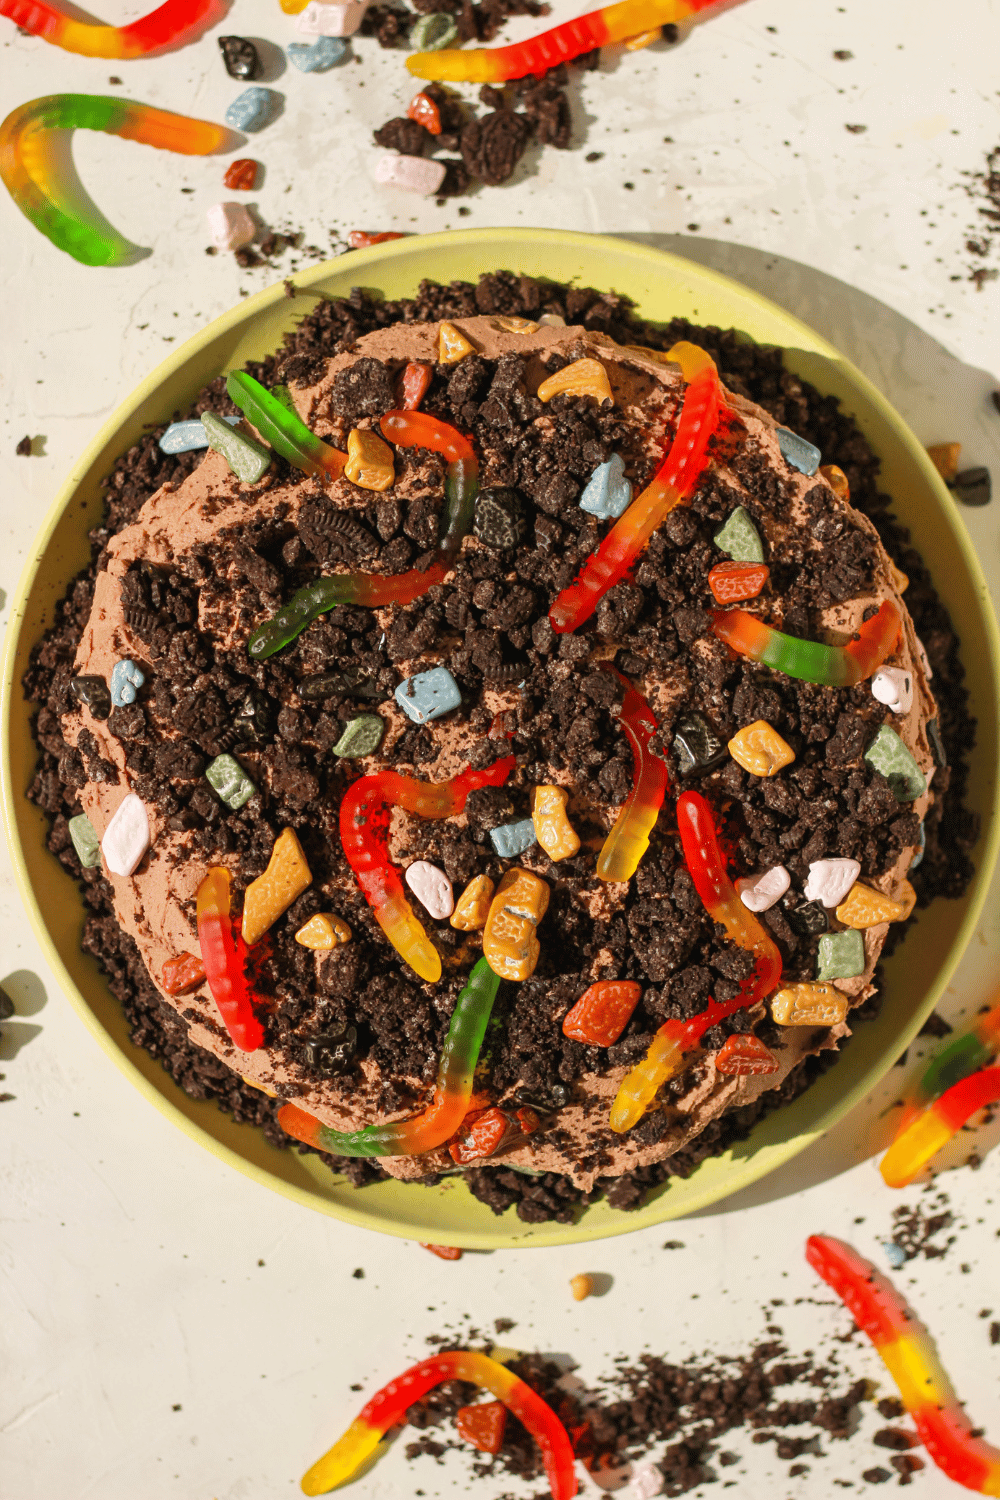
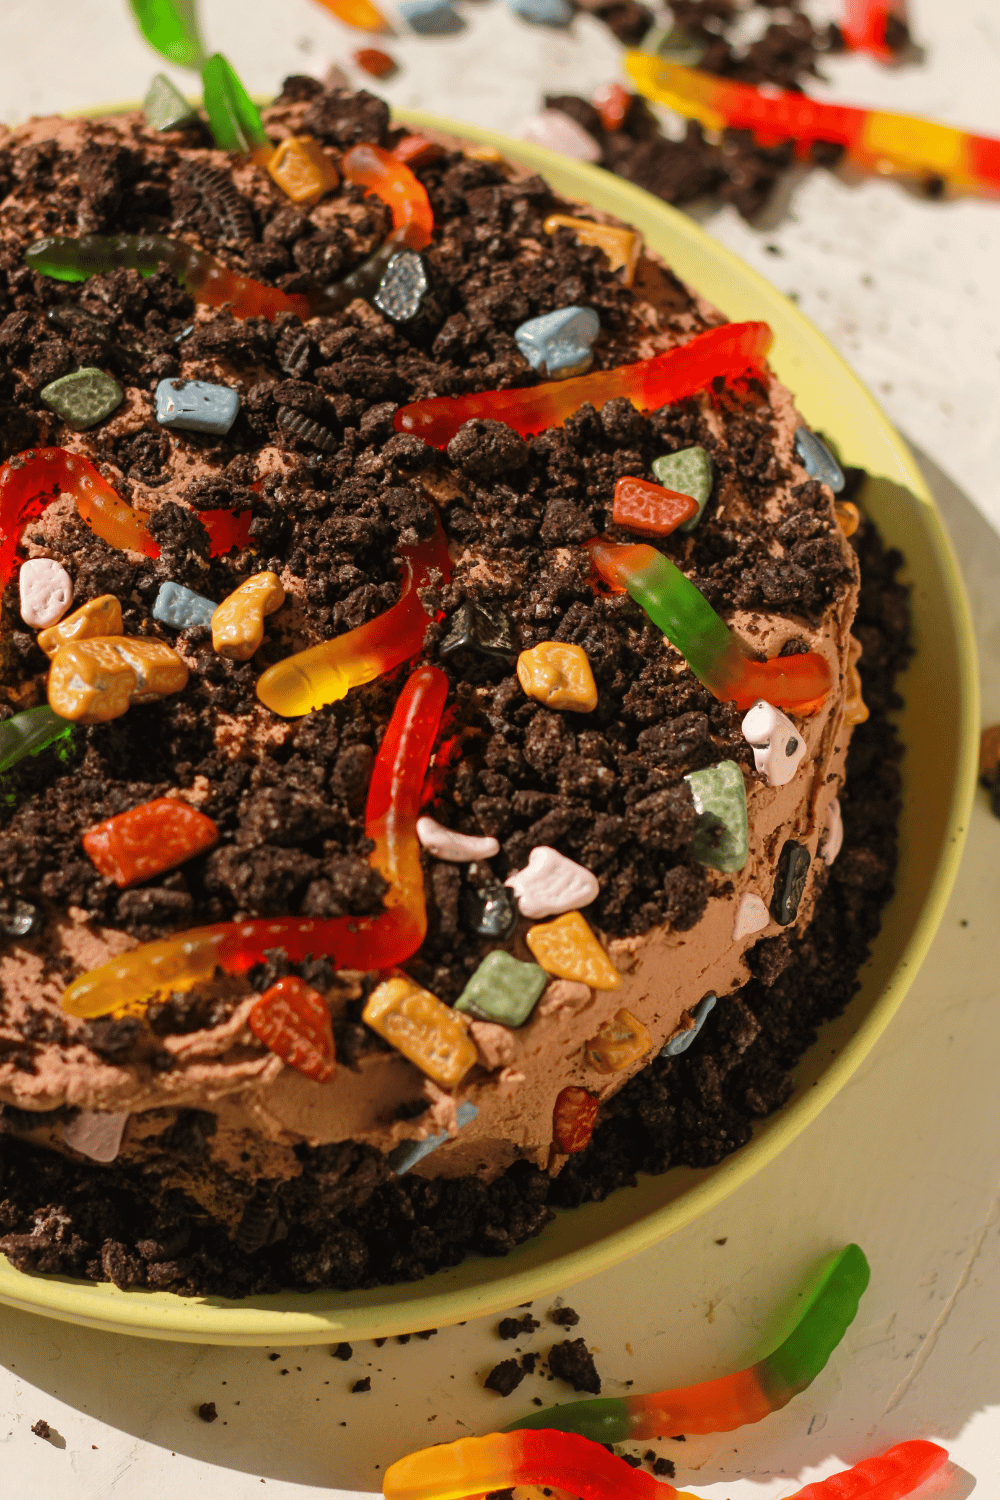
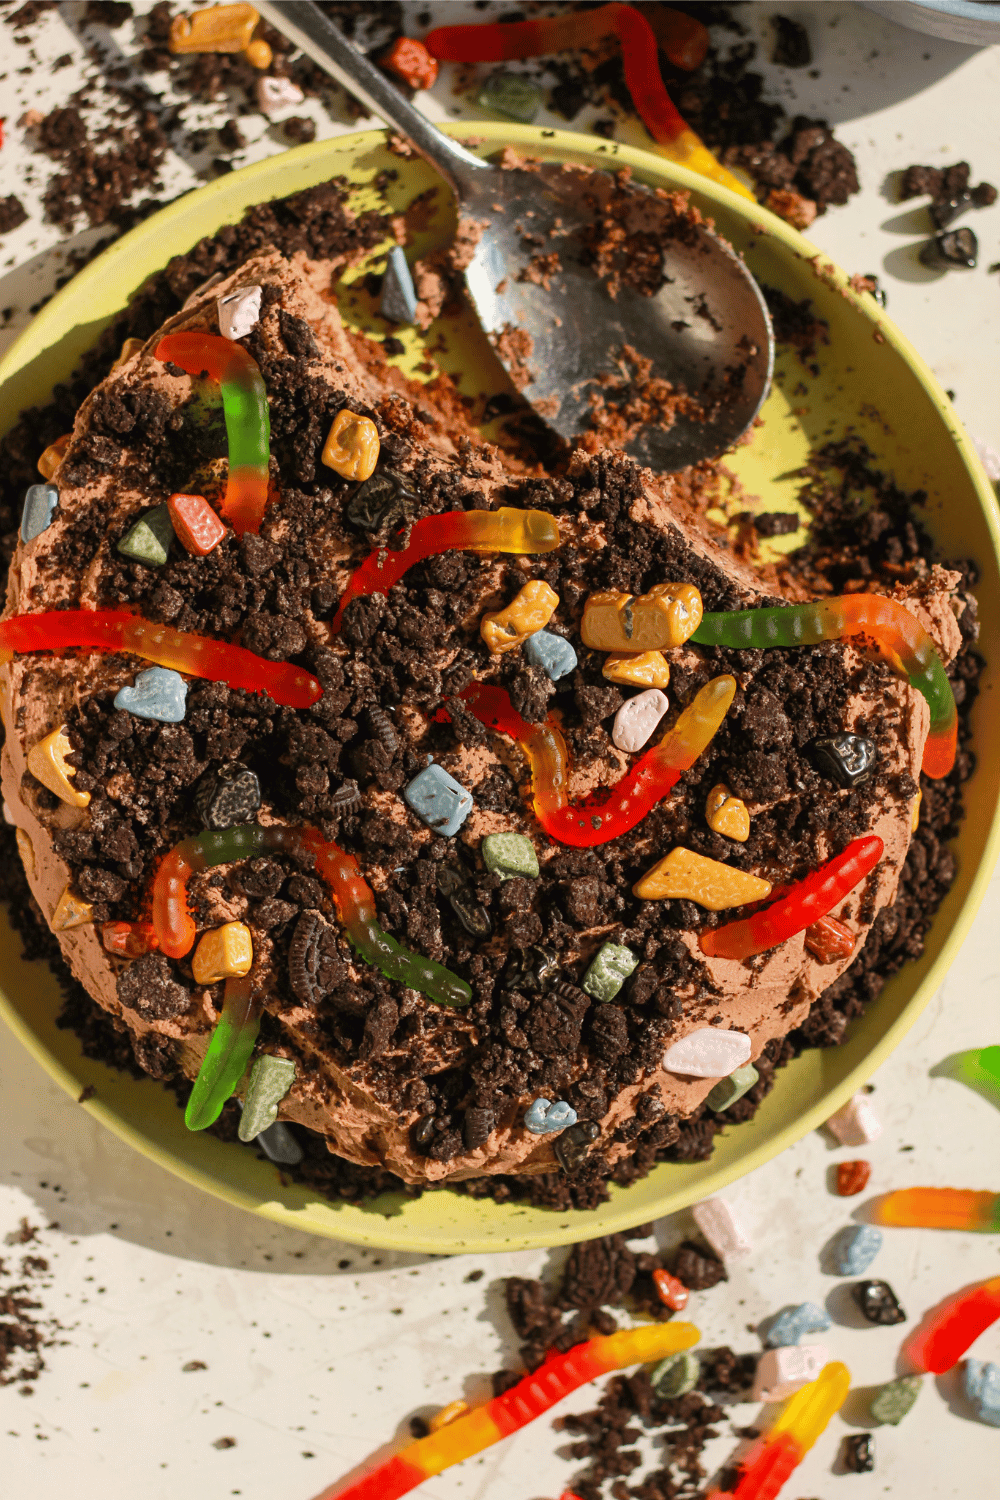
There are two layers of rich chocolate cake filled with a fluffy whipped chocolate frosting and oreo ‘dirt’ before being covered in more chocolate frosting. The cake is then coated with more crushed oreo crumbles to make the top of the cake look like a garden bed. It’s completed with squirming gummy worms and rock-shaped chocolates. And the best part about this cake is that it is meant to be scooped with a big spoon. Just like a pile of dirt.
It’s whimsical enough for spring parties or spooky enough for Halloween! It’s also a fun way to celebrate a birthday or make it for anyone who enjoys a nostalgic dessert. Queue Wheatus’ “Teenage Dirtbag” , grab your spoons, and lets dig in!
Why You’ll Love This Teenage Dirtbag Cake
- Super nostalgic! If you grew up on dirt pudding, you get the hype of this cake. It’s has all the flavor of dirt cups you enjoyed as a child but in a layered chocolate cake.
- A little spooky, a little whimsy. This cake can be served year around. So whether you’re making this for birthdays or for a spooky Halloween party, this cake is meant to be fun.
- Scoop it! Just like dirt. Our favorite thing about this cake is that it should be scooped – like dirt. So grab your spoon and get to digging in!
Ingredients You’ll Need
Chocolate Cake
- All-purpose flour
- Baking powder
- Cocoa powder
- Espresso powder
- Salt
- Butter
- Sugar
- Eggs
- Vanilla extract
- Buttermilk
Chocolate frosting
- Semi Sweet chocolate chips
- Butter
- Powdered sugar
- Vanilla extract
Cake Decorations
- Oreo cookies
- Gummy Worms
- Chocolate Rocks
- Edible flowers (optional)
How to Make This Teenage Dirtbag Cake, Step by Step
Step 1. Preheat oven, prep cake pan and measure out ingredients.
Start by preheating the oven to 325°F. Grease two 9-inch cake pans with butter or non stick spray. We also recommend lining the bottom of the cake pans with parchment paper. Trace the shape of the pan and cut a circle to fit the bottom of the pan. Set the pans to the side while you make the cake batter.
We also recommend to mea measuring out all your cake batter ingredients to make it easier to assemble the batter.
Step 2. Make cake batter.
You can make the batter with a hand mixer or a stand electric mixer. Start by creaming butter in on medium-high speed for a couple minutes until it’s light and fluffy. Beat in sugar until it is whipped and combined.
Next, reduce the speed to medium-low and mix in a couple in room temperature eggs one at a time until they are just blended in. Mix in some vanilla extract before adding in your dry ingredients and buttermilk. You will alternate adding flour and buttermilk to the batter.
In a large bowl, whisk together flour, baking powder, salt and cocoa powder. Add half of the mixture into the bowl and mix until just combined. Mix in half of the buttermilk to the batter. Repeat this one more time until all the flour and buttermilk are evenly blended into the batter.
Tip: Be careful not to overmix the batter because it will result in a tougher, dryer cake. Mix flour and buttermilk on medium-low speed until just combined before adding more.
Step 3. Bake cakes and let them cool completely.
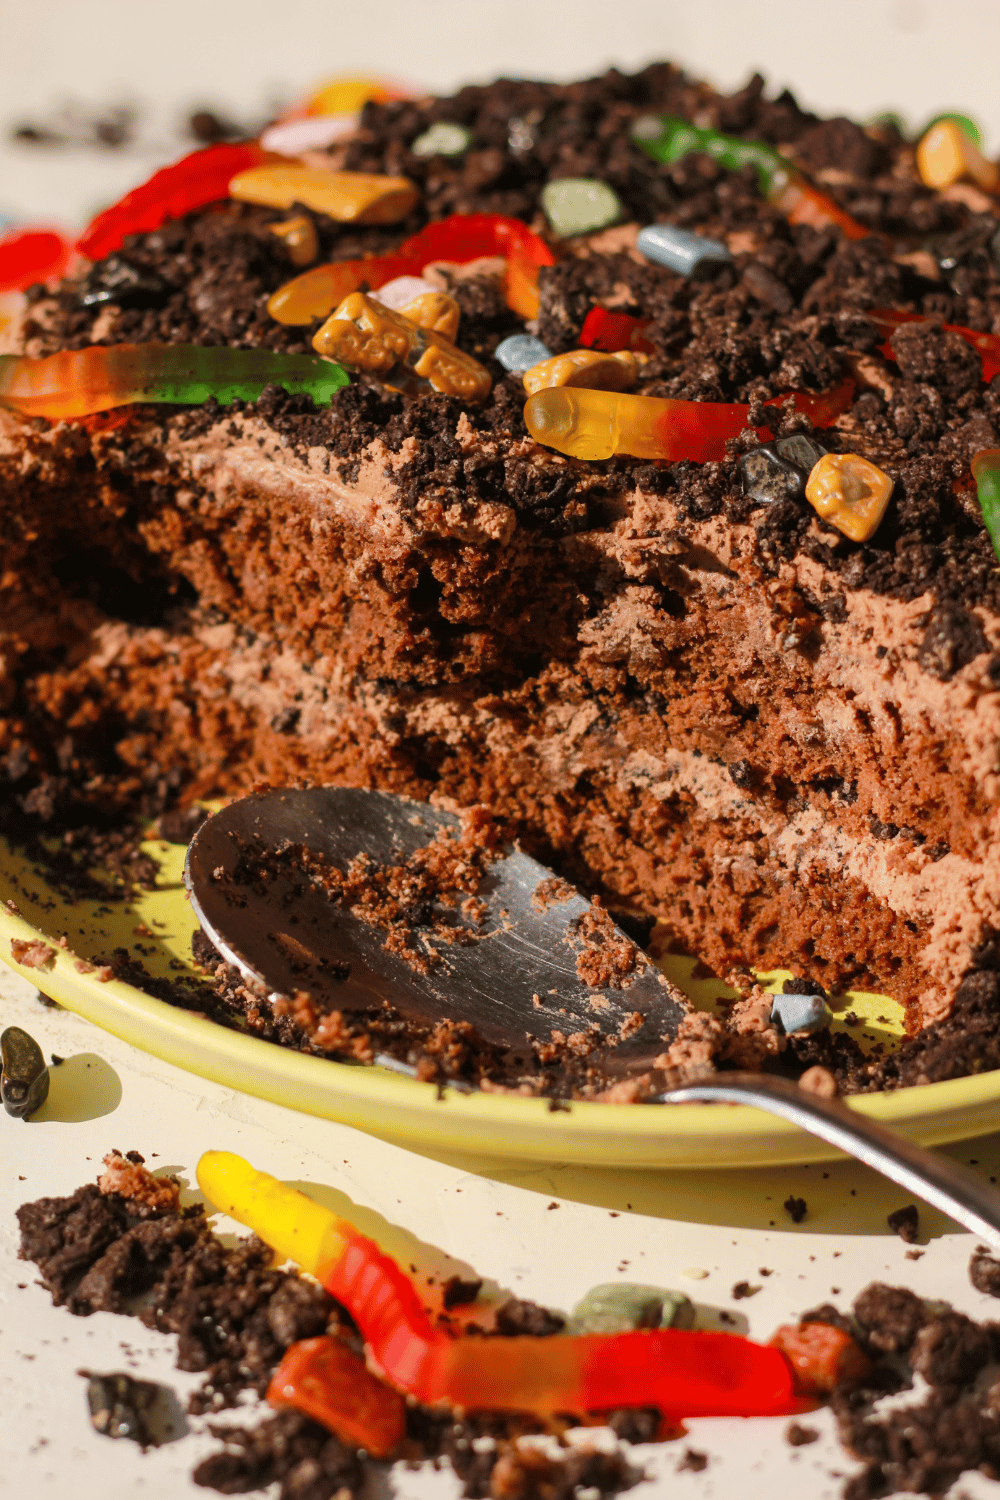
Split the batter between two cake pans and bake them for 18-22 minutes until cooked through.
You’ll know their done when a toothpick removes clean. If there is batter left on the toothpick when you remove it, let it bake for 3-5 additional minutes until baked through.
Let the baked cakes cool completely on a wire rack before icing and decorating the cake.
Step 4. Make icing and prep toppings.
The cake is topped with a delicious chocolate whipped frosting. We wanted it to have a light texture so to that it was similar to the lighter texture of pudding in a dirt cup.
To make the chocolate whipped frosting, start by melting chocolate chips in the microwave until just melted. Heat the chocolate in 30 second increments and stir in between each heating.
Add the melted chocolate to the bowl of a stand mixer with a whisk attachment. Add in room temperature butter and vanilla and whisk until the batter is smooth and has a whipped-like texture.
Lastly, make the Oreo dirt! Add a couple cups of chocolate cookies to a large ziplock bag. Seal the bag and use a rolling pin or wooden spoon to crush the cookies into fine crumbs. It’s okay if you have different sized cookie crumbs. The imperfection will make it look even more like dirt.
Step 5. Ice cake, add dirt, worms and rocks. Scoop to serve!
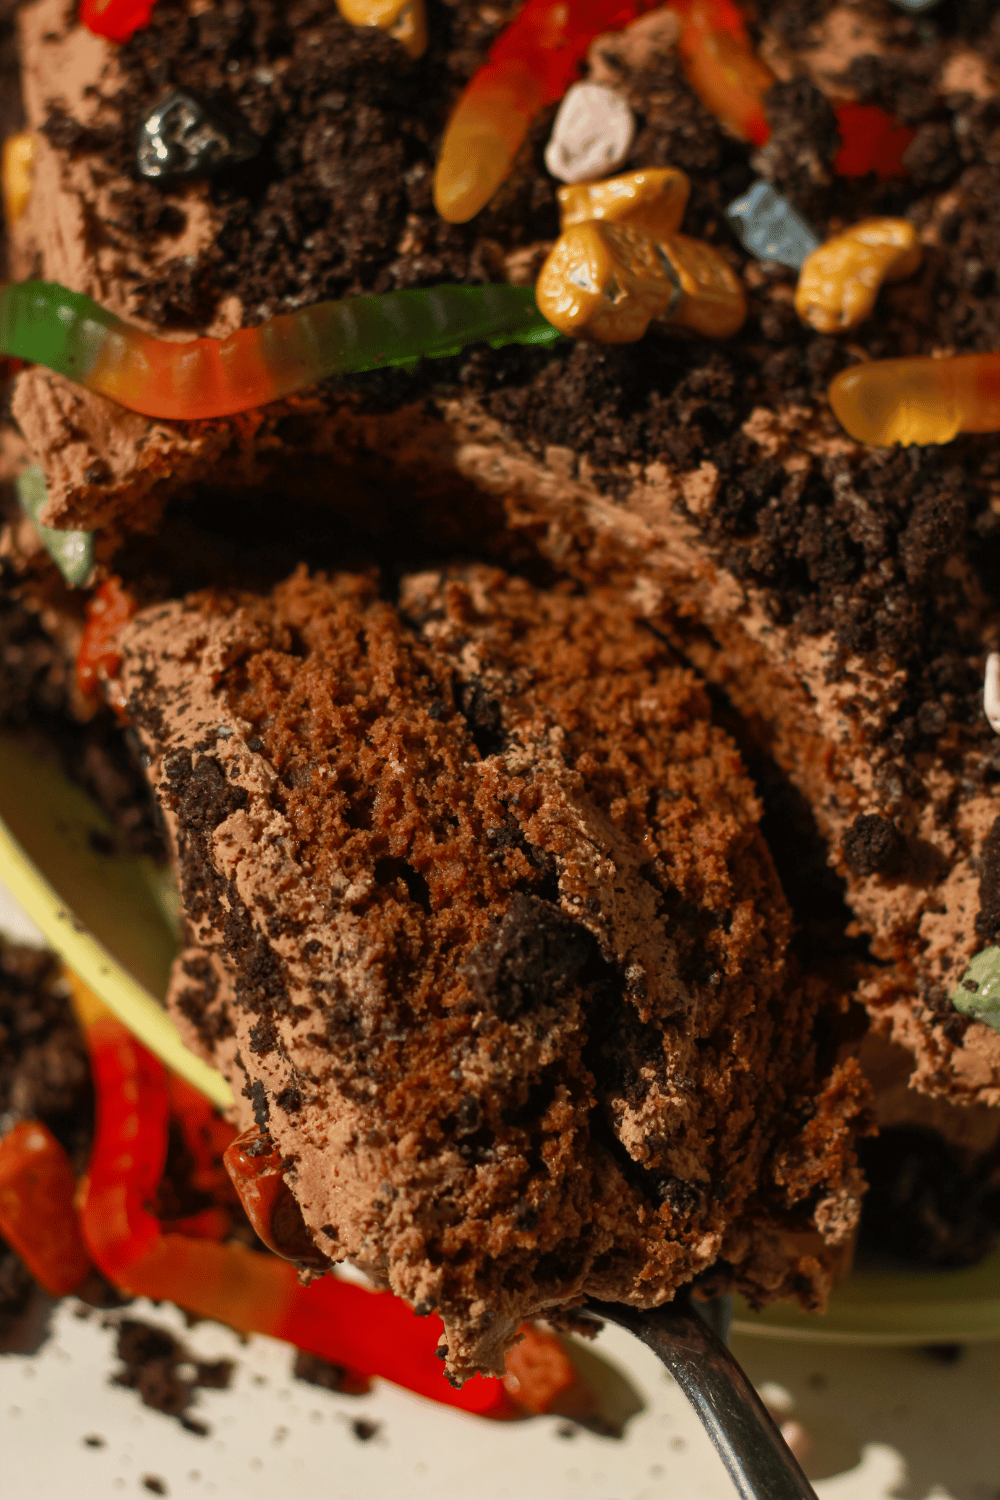
Once the frosting is whipped and Oreo cookies are crushed, you’re ready to assemble the cake.
Place one of the cake rounds on your serving tray and spread a generous layer of chocolate frosting over the top. Add a thin layer of cookie crumbles to the top of the frosting before placing the other cake round on top.
Use the rest of the frosting to coat the sides and top of the cake. Add cookie crumbles, gummy worms, chocolate rock candies, and edible flowers to make the cake come to life. Once assembled, grab a spoon and dig in!
Tips for Making Teenage Dirtbag Cake
- Let the chocolate cake cool completely before frosting. If your cake is too warm, the frosting will melt! Make sure the cakes are completely cooled before baking. If you don’t have an hour to spare, you can chill can in the freezer. Let the cake cool, you can let it rest for about 15 minutes on the counter and chill it in the freezer for 15 minutes to chill quickly.
- Don’t overmix the cake batter. You will have to alternate adding flour and buttermilk into the cake. This is where it is important that you don’t overmix the batter. Ovemixing can over develop the gluten and make the cake texture tougher. Mix until flour and milk are just combined.
- Use room temperature eggs for the cake batter. Room temperature eggs are going to create a consistent, smooth batter. If the eggs are too cold, they could clump the fats in the butter and give the batter an inconsistent texture.
- Don’t worry about making this cake perfect! The beauty is in the mess with this cake! It’s supposed to be a bit messy and fun, which takes the pressure off making a perfectly iced cake.
Recipe FAQ
How to store the dirt cake
After the cake is assembled, cover it and store it in the refrigerator. When you’re ready to serve, take it out of the fridge and let the cake sit at room temperature 20-30 minutes before you serve the cake so that the frosting can soften.


More nostalgic desserts:
Teenage Dirtbag Cake (Dirt Cake)
Description
This Teenage Dirtbag Cake turns the nostalgic childhood dessert into a playful layered cake with chocolate cake, creamy pudding, and crushed Oreos. Whimsical enough for spring parties and just spooky enough for Halloween.
Ingredients
Chocolate Cake
- 1 1/2 cups all-purpose flour
- 1 tsp baking powder
- 1/2 cup cocoa powder
- 2 tsp espresso powder
- 1/2 tsp salt
- 1/2 cup butter
- 1 cup sugar
- 3 eggs
- 1.5 tsp vanilla
- 2/3 cup buttermilk
Whipped Chocolate Frosting
- 1/2 cup semi sweet chocolate chips, melted
- 2 sticks of butter
- 4 cups powdered sugar
- 2 tsp vanilla extract
Toppings
- 2 cups Oreo cookies, crushed
- Chocolate rocks
- Gummy worms
- Edible flowers
Instructions
Chocolate Cake
- Preheat oven to 325ºF. Grease and line a two 9-inch round cake pan with parchment paper.
- In a medium bowl. Whisk together flour, baking powder, salt, and cocoa powder. Set aside.
- In an electric stand mixer with paddle attachment, cream butter on medium-high speed until light and fluffy. Add in sugar and mix until combined.
- Next, add in eggs one at a time, blending on medium-low until just blended in. Add vanilla and mix to incorporate.
- Slowly add in half the flour mixture. Mix on medium-low speed until combined. Add in half of the buttermilk and mix. Add in the last half of the flour mixture, then the remaining buttermilk. Mix until just combined. Scrape any excess flour on the edges and blend in. Be careful not to over mix the batter.
- Split the batter in half into both cake pans, making sure it is evenly spread across the cake pan. Bake for 18-22 minutes or until the cake is cooked through completely and a toothpick comes out clean. Let cake cool completely.
Whipped Chocolate Frosting
- Melt chocolate chips in the microwave in 30 second increments until melted, stirring between.
- Add melted chocolate, room temperature butter, vanilla to the bowl of a stand mixer. Add the whisk attachment and whisk until smooth.
- Add in powdered sugar and start mixing on low so the sugar doesn’t spray everywhere. Once it’s more blended together, increase the speed and whisk on high for 2-3 minutes until fluffy.
Assemble Cake
- Place one cake round on your cake pan. Add a layer of frosting and crushed Oreo cookies to the top of the cake and place the other cake round directly on top. Frost the top and sides with the rest of the cake. It’s okay if it doesn’t look perfect (it’s dirt anyways!)
- Add more Cookie crumbles to the top and sides.
- Place gummy worms and edible flowers around the cake. Scoop and enjoy!