This post may contain affiliate links, which means we’ll receive a commission if you purchase through our link, at no extra cost to you. See our disclosure here.
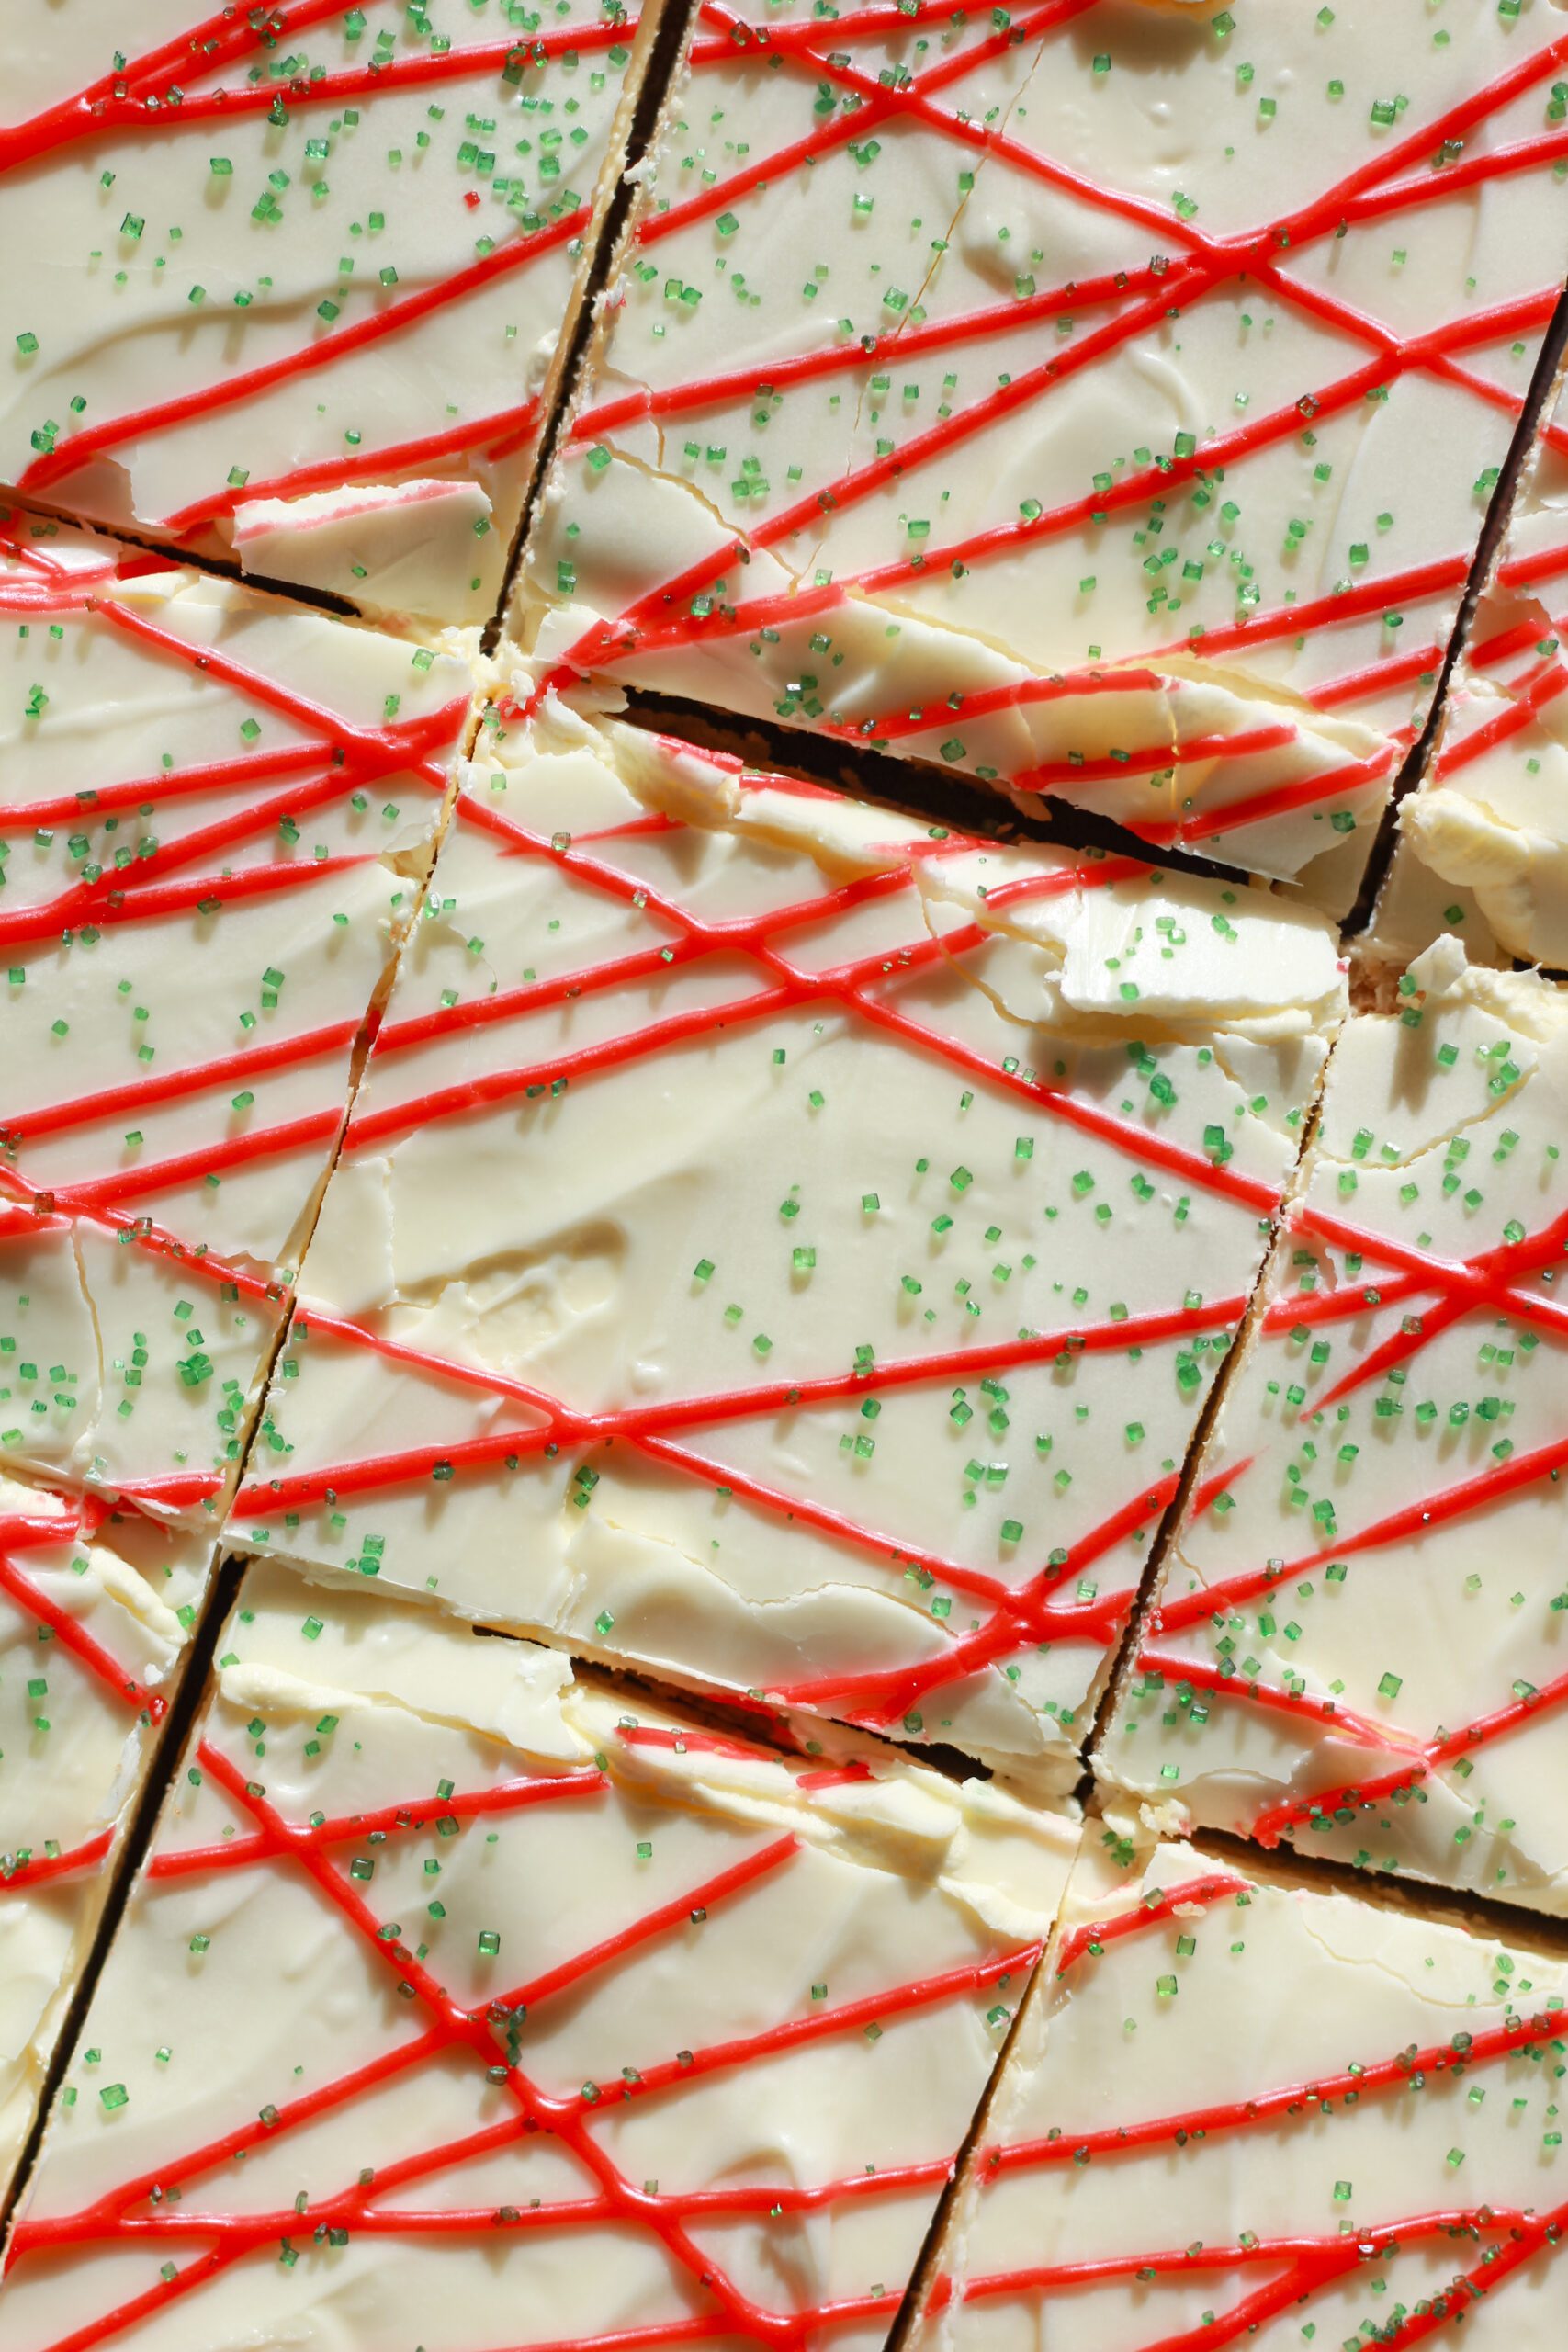
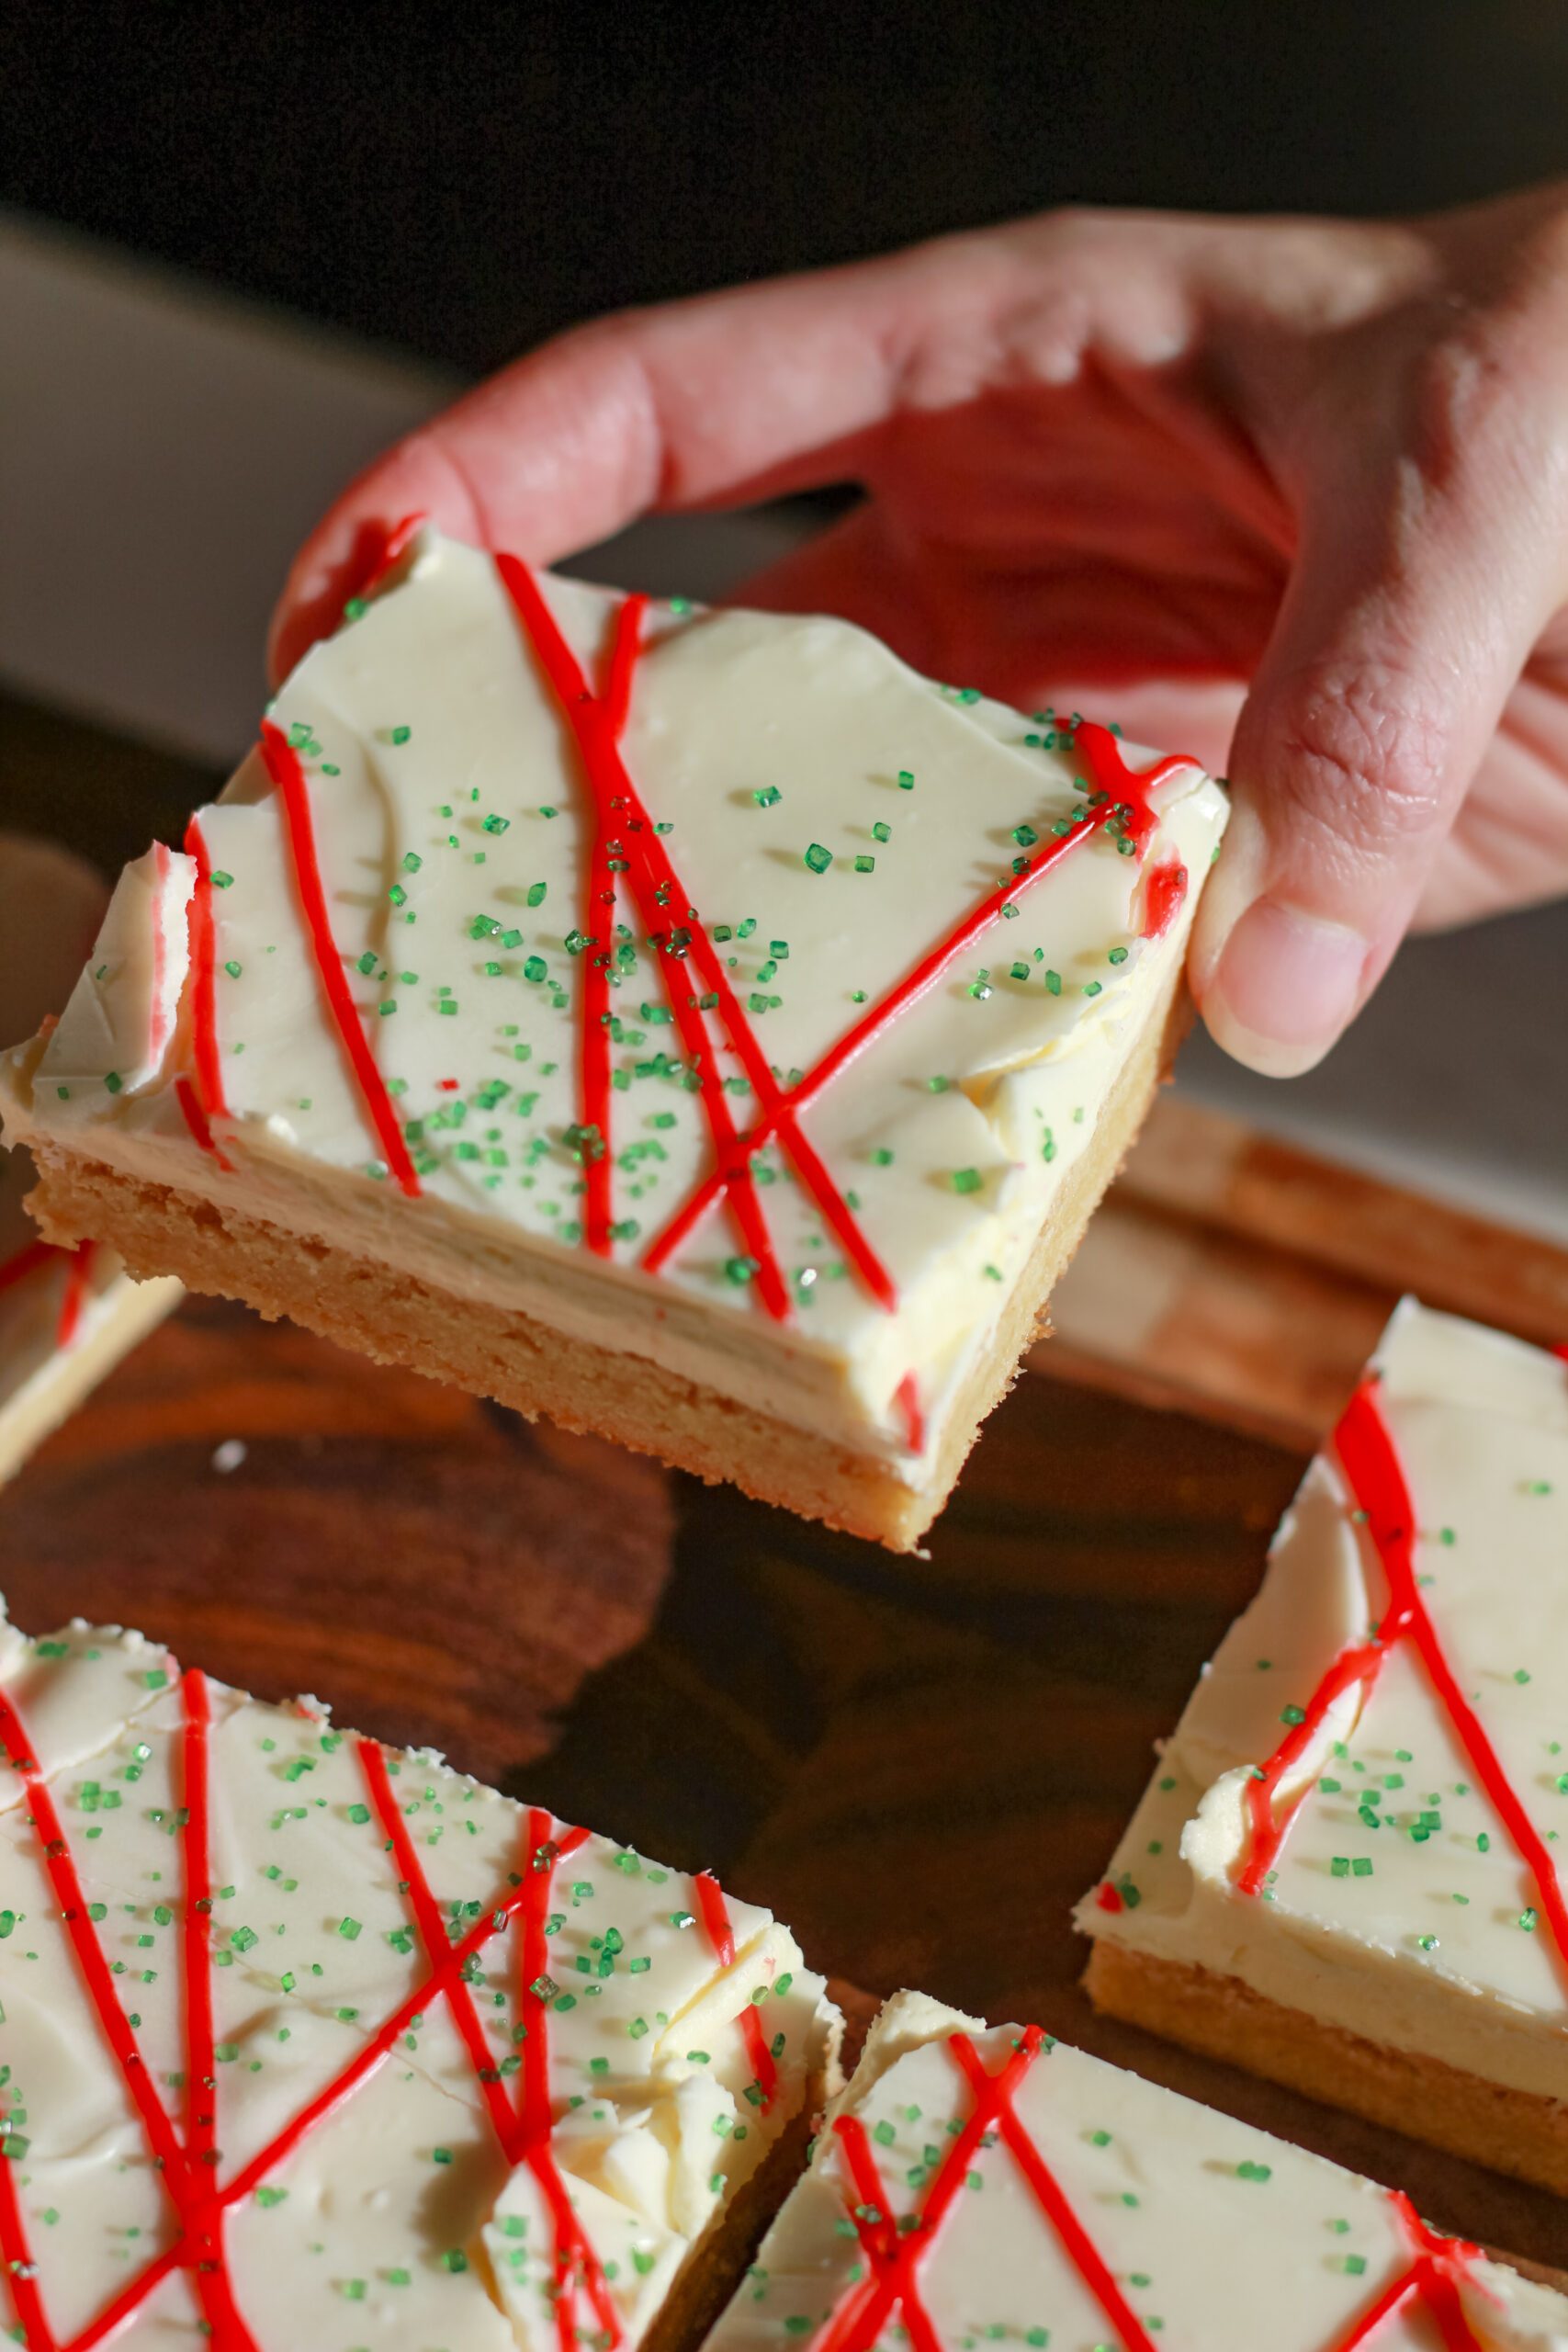
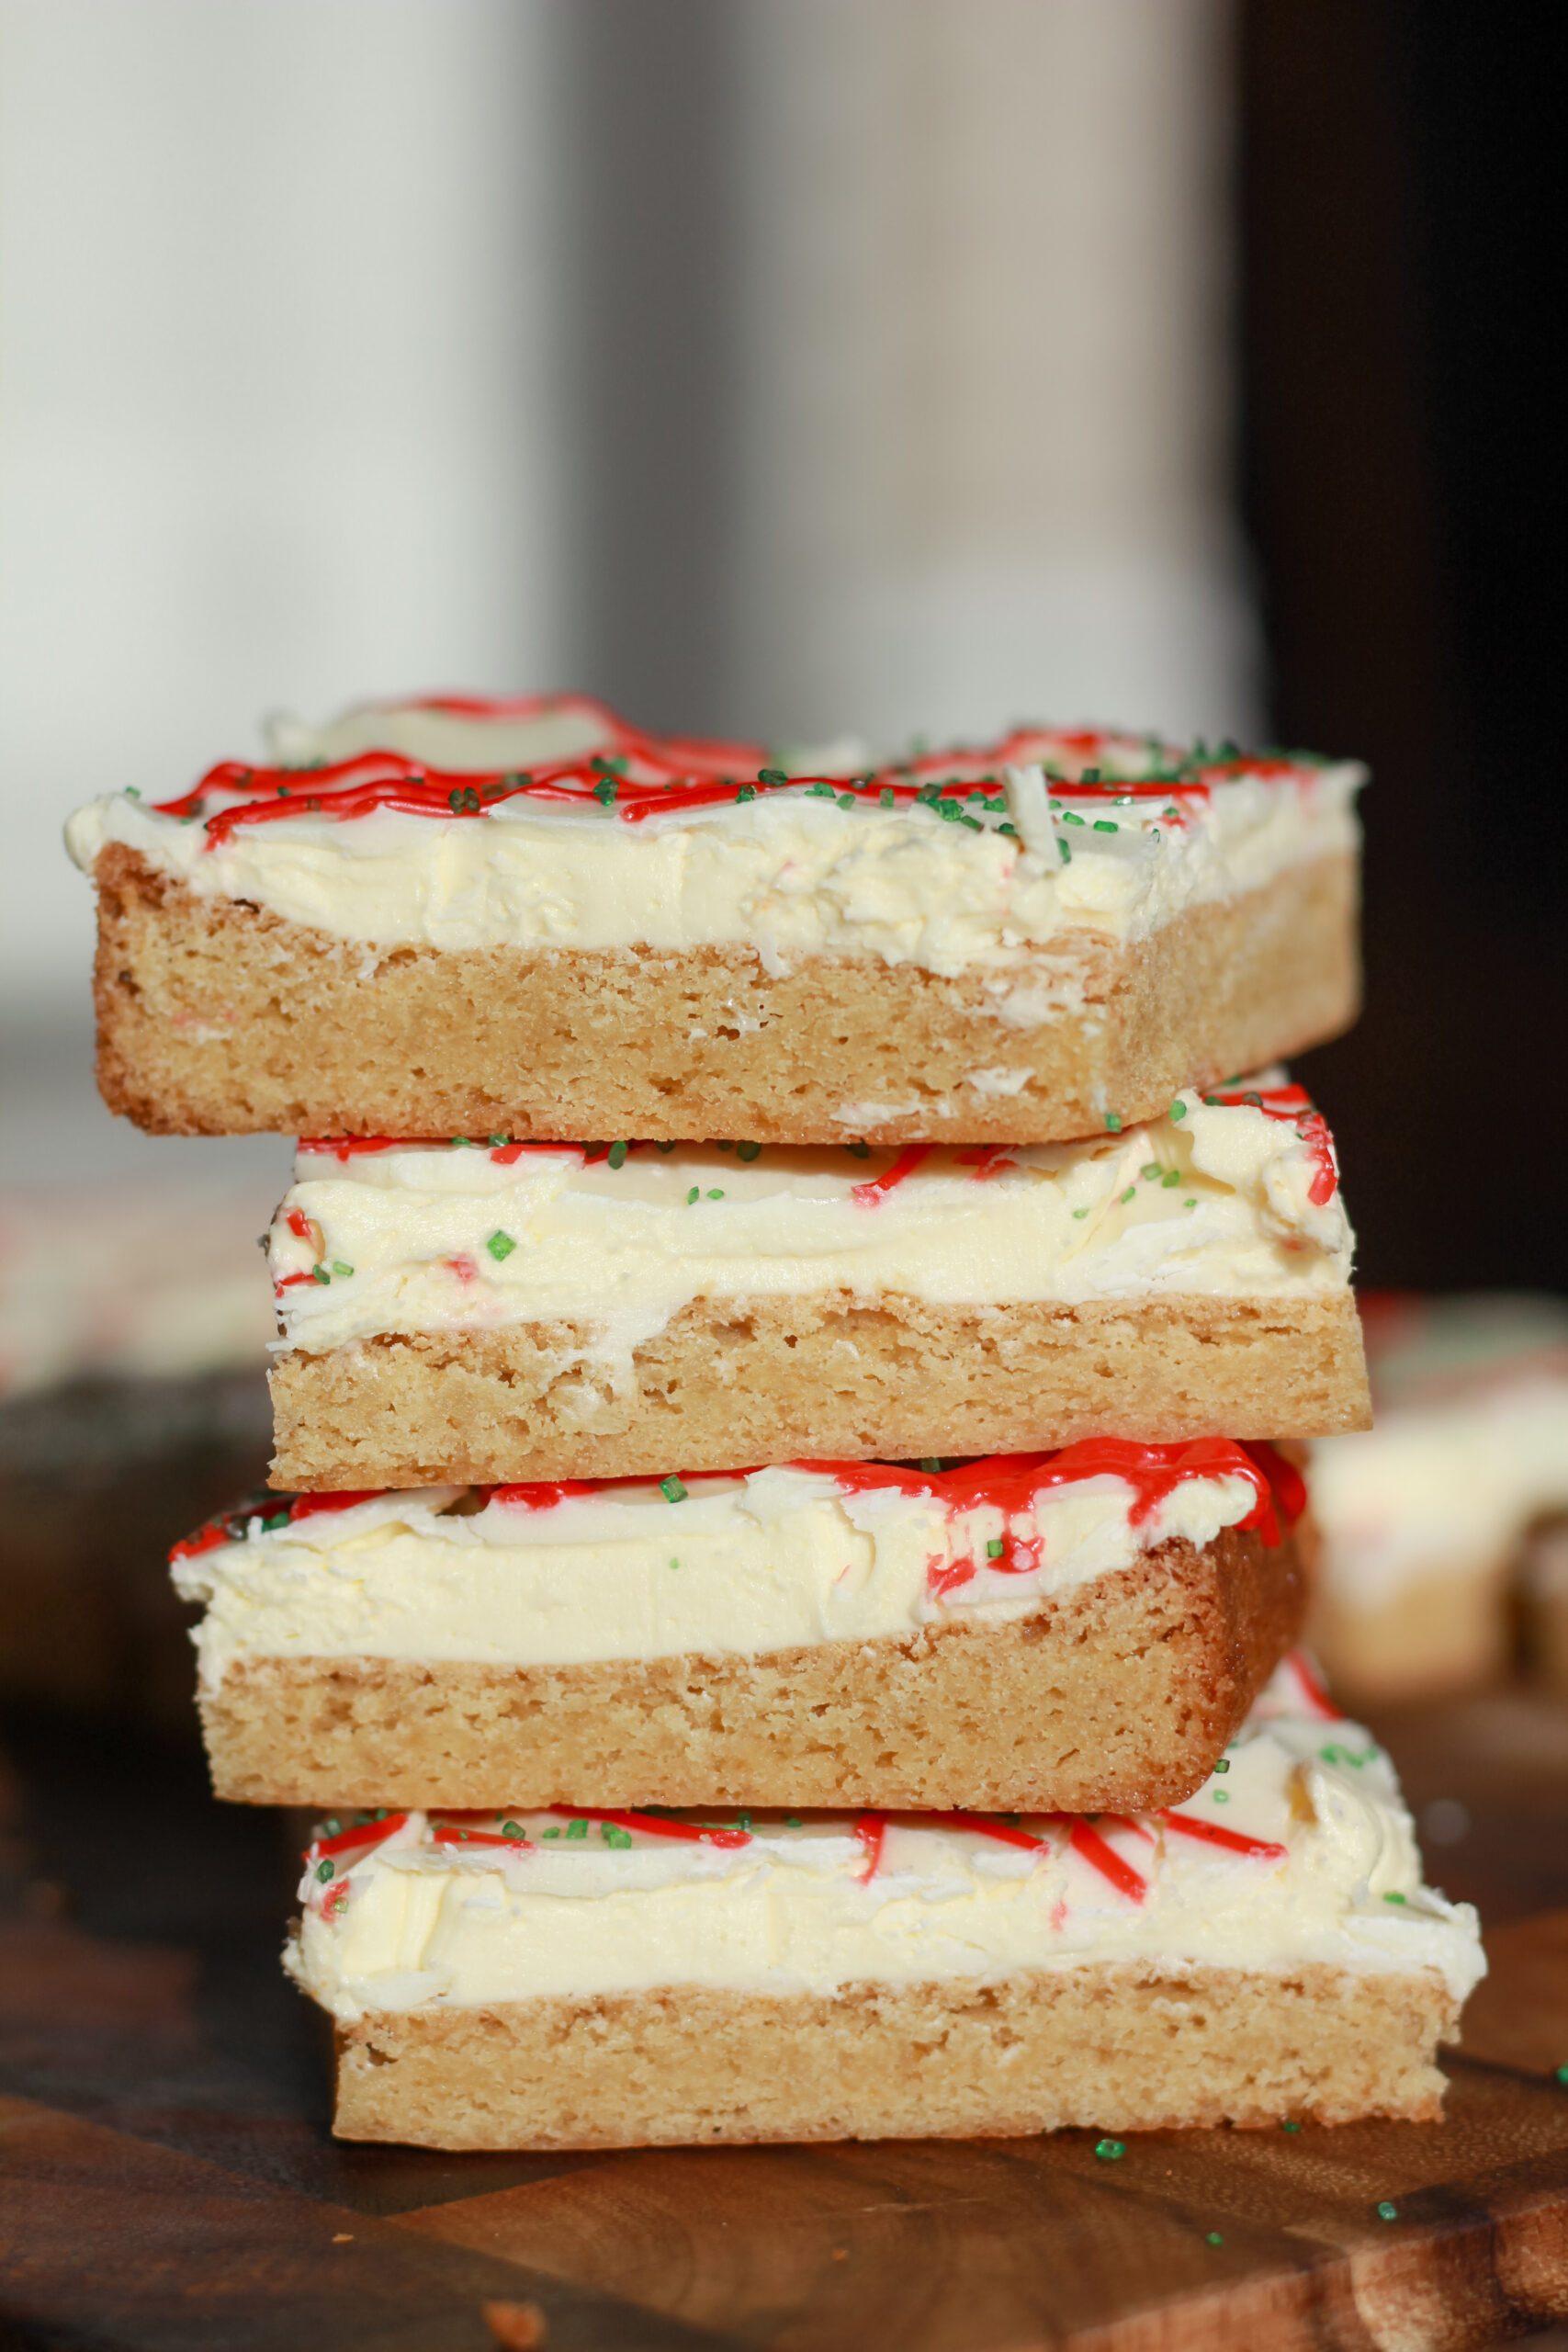
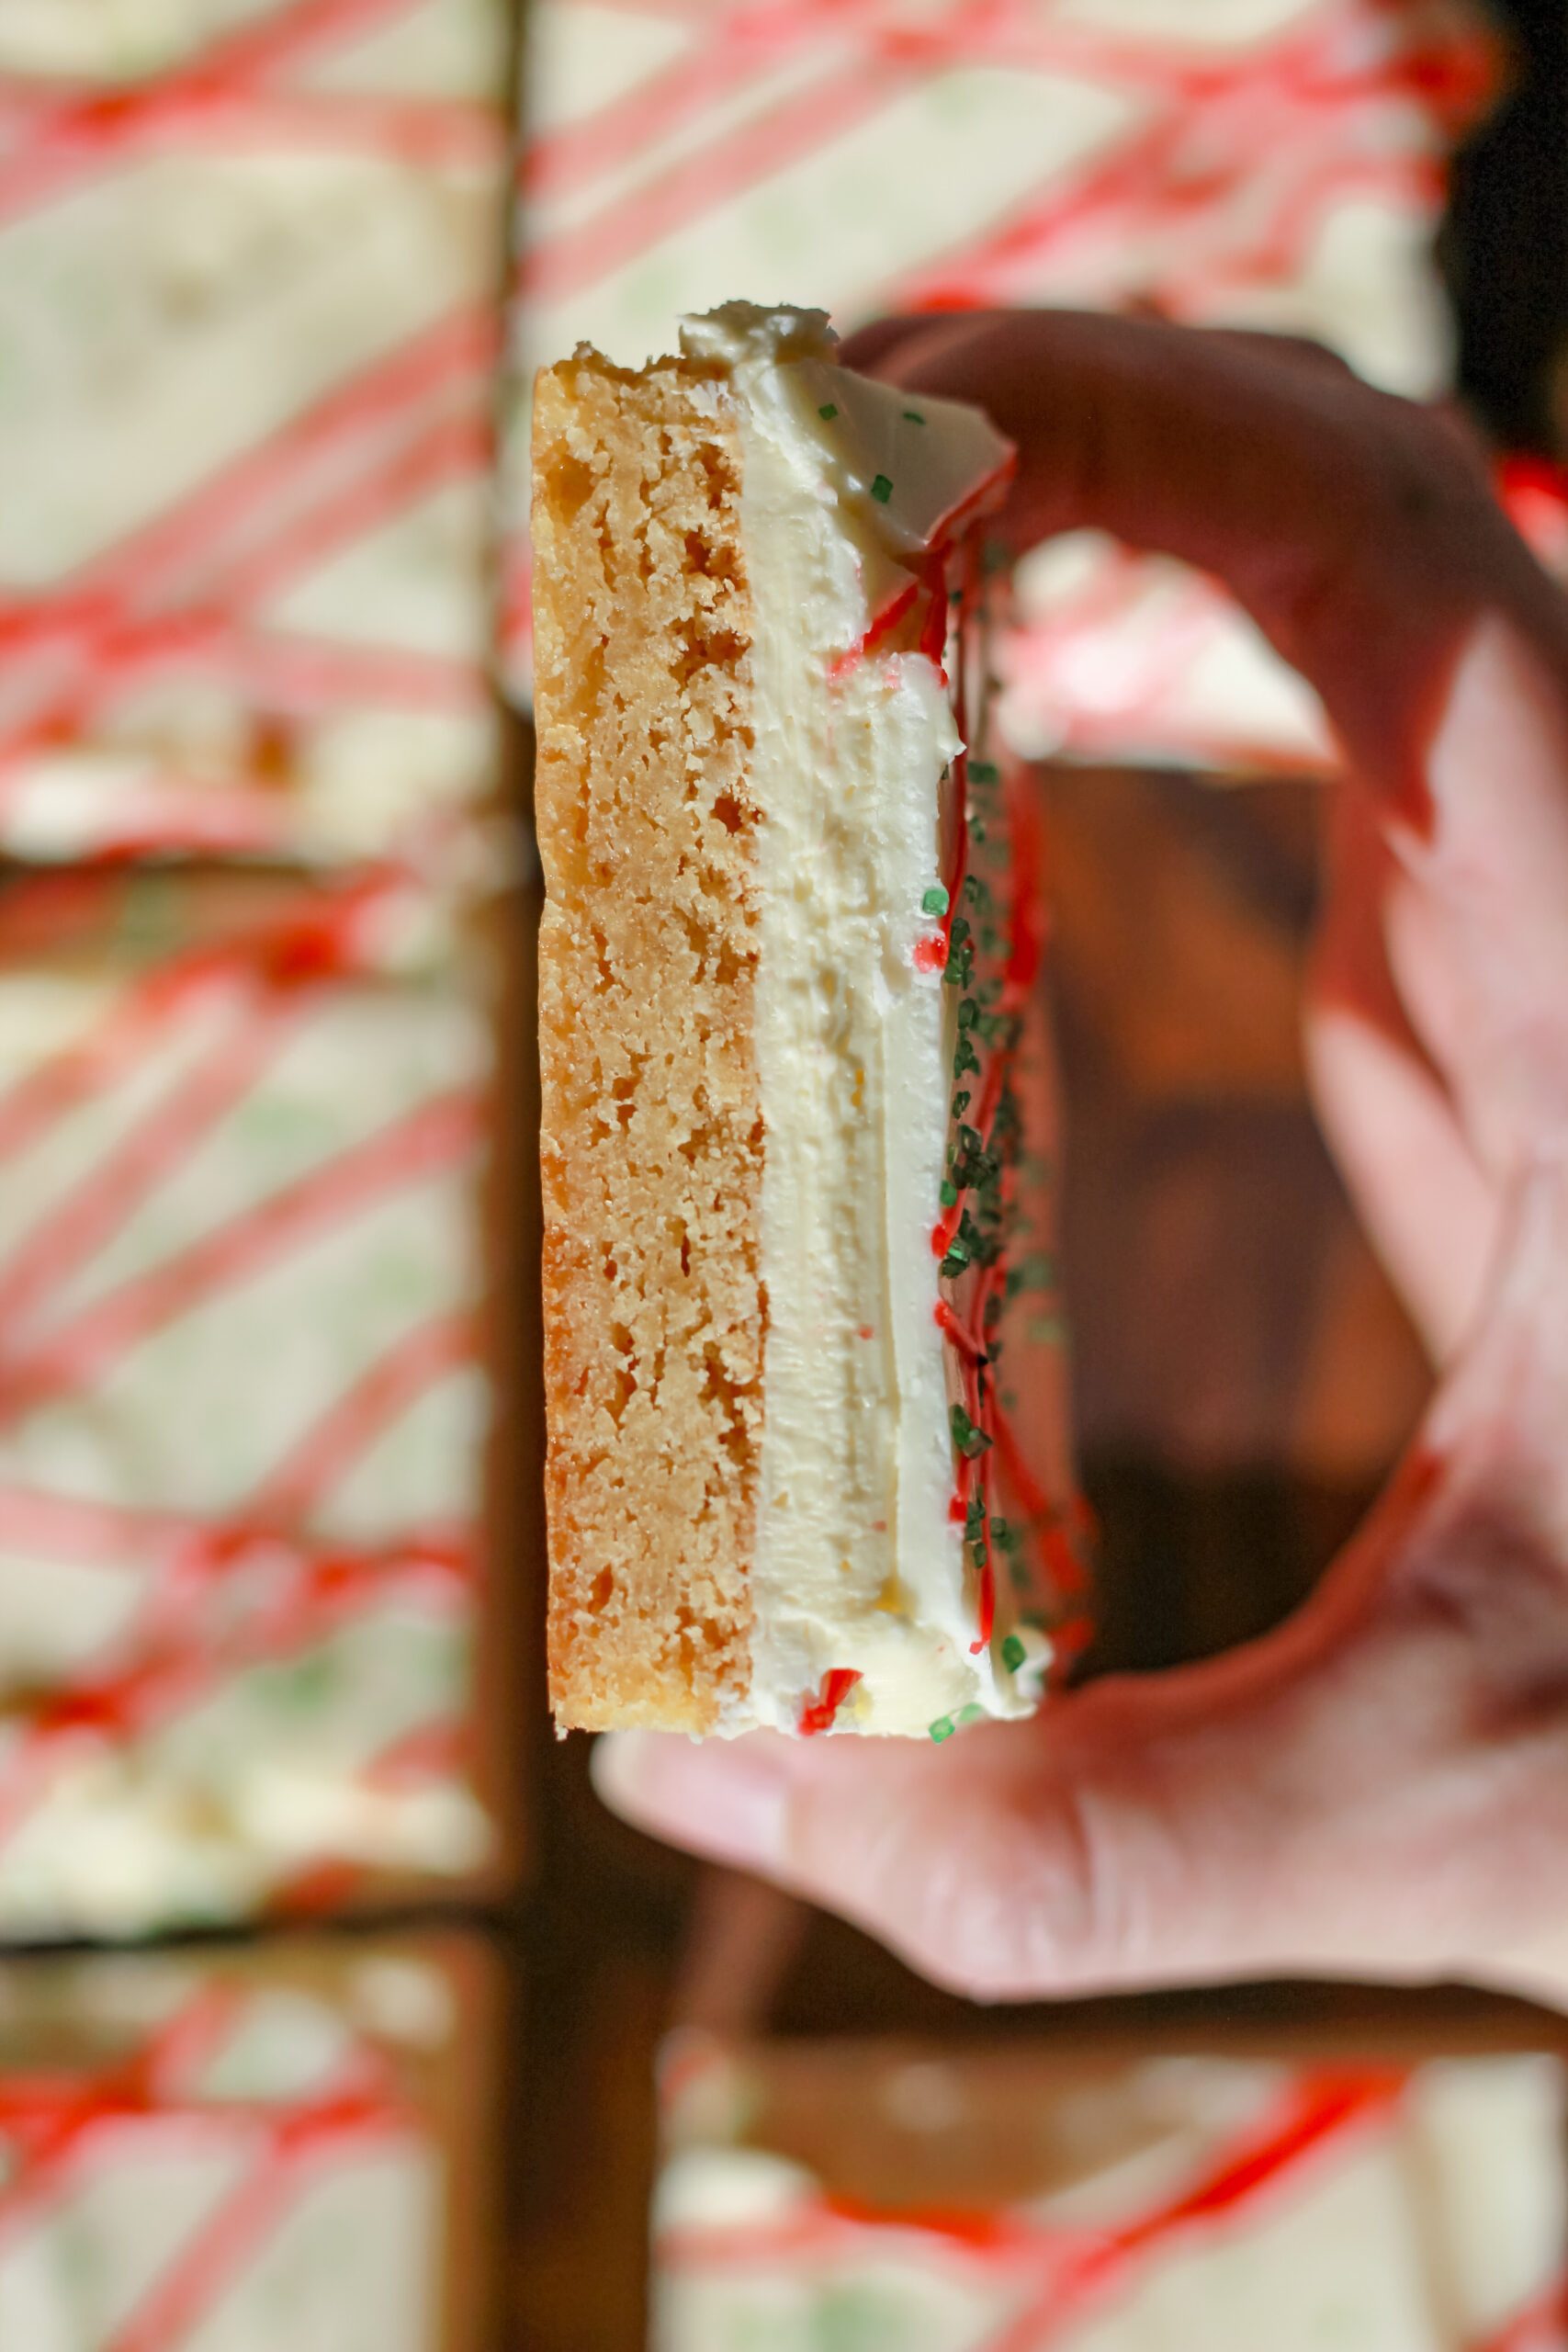
These Little Debbie Christmas Dessert Bars take the iconic holiday snack cake but glowed up! A soft vanilla blondie base, fluffy whipped icing and coated with white chocolate. Of coarse, we couldn’t forget to decorate with the classic red stripes and green sprinkles.
Swapping the cake for a blondie base makes them super transportable and honestly way better than the boxed version. They slice beautifully, hold their shape and taste just like those childhood memories!
It’s the kind of winter dessert that feels nostalgic, festive, yet more grown up. They’re perfect for cookie exchanges, festive bake nights or even holiday office parties.
Why These Christmas dessert Bars Are So Good!
- Nostalgic snack cake flavor: We wanted to make sure we held true to the Little Debbie Flavors. You still get the vanilla base, a light whipped frosting and the iconic crunchy white chocolate coating. They’re what dreams are made of!
- Chewy blondie base = better texture! A good dessert bar has a solid sturdy base, so we swapped classic vanilla cake with a vanilla blondie to add some support while keeping the same flavors.
- Easy to transport for parties! Dessert bars are the ultimate treat – they usually have a lot of goodness going on, but make great for parties because they are not only easy to transport, they’re easy to serve!
What You’ll Need
For the blondie layer:
- Butter
- White chocolate chips
- Brown sugar
- Eggs
- Vanilla
- Flour
- Baking powder
- Salt
For frosting and chocolate topping
- Butter
- Powdered sugar
- Marshmallow fluff
- Vanilla extract
- White chocolate chips
- Coconut oil
- Red pre-packaged icing
- Green sanding sugar
How to Make Little Debbie Dessert Bars: Step by Step
Step 1. Make the vanilla blondie base and cool.
Start by melting butter and white chocolate in a sauce pan over medium heat. Stirring frequently to make sure the chocolate chips melt evenly.
Once the chocolate mixture is melted and smooth, pour the mixture into a large mixing bowl and whisk in brown sugar. The sugar will cool the melted chocolate mixture down enough before mixing the eggs in.
Add in one egg and one egg yolk at a time, until combined. Don’t forget to mix in the vanilla extract.
Lastly, whisk in your dry ingredients – flour baking powder and salt until combined. The batter will be thick, but thats exactly how it should be!
Pour in a greased, lined 9×13-inch pan and spread into an even layer to bake.
Step 2. Make whipped vanilla frosting.
This whipped vanilla frosting gives these bars that iconic snack cake flavor.
Homemade butter cream is whisked together with marshmallow fluff to give the icing a light, fluffy texture. Spread the frosting over cooled blondies bars before chilling.
Step 3. Chill bars while you melt chocolate.
You’ll need to chill the bars before covering in chocolate. That way the icing below doesn’t melt.
Pop the frosted blondies into the freezer for about 10-15 minutes while you melt the white chocolate coating.
Step 4. Spread melted chocolate over top of bars and decorate.
Using an icing knife or a rubber spatula, spread melted chocolate evenly over the top of the blondie bars.
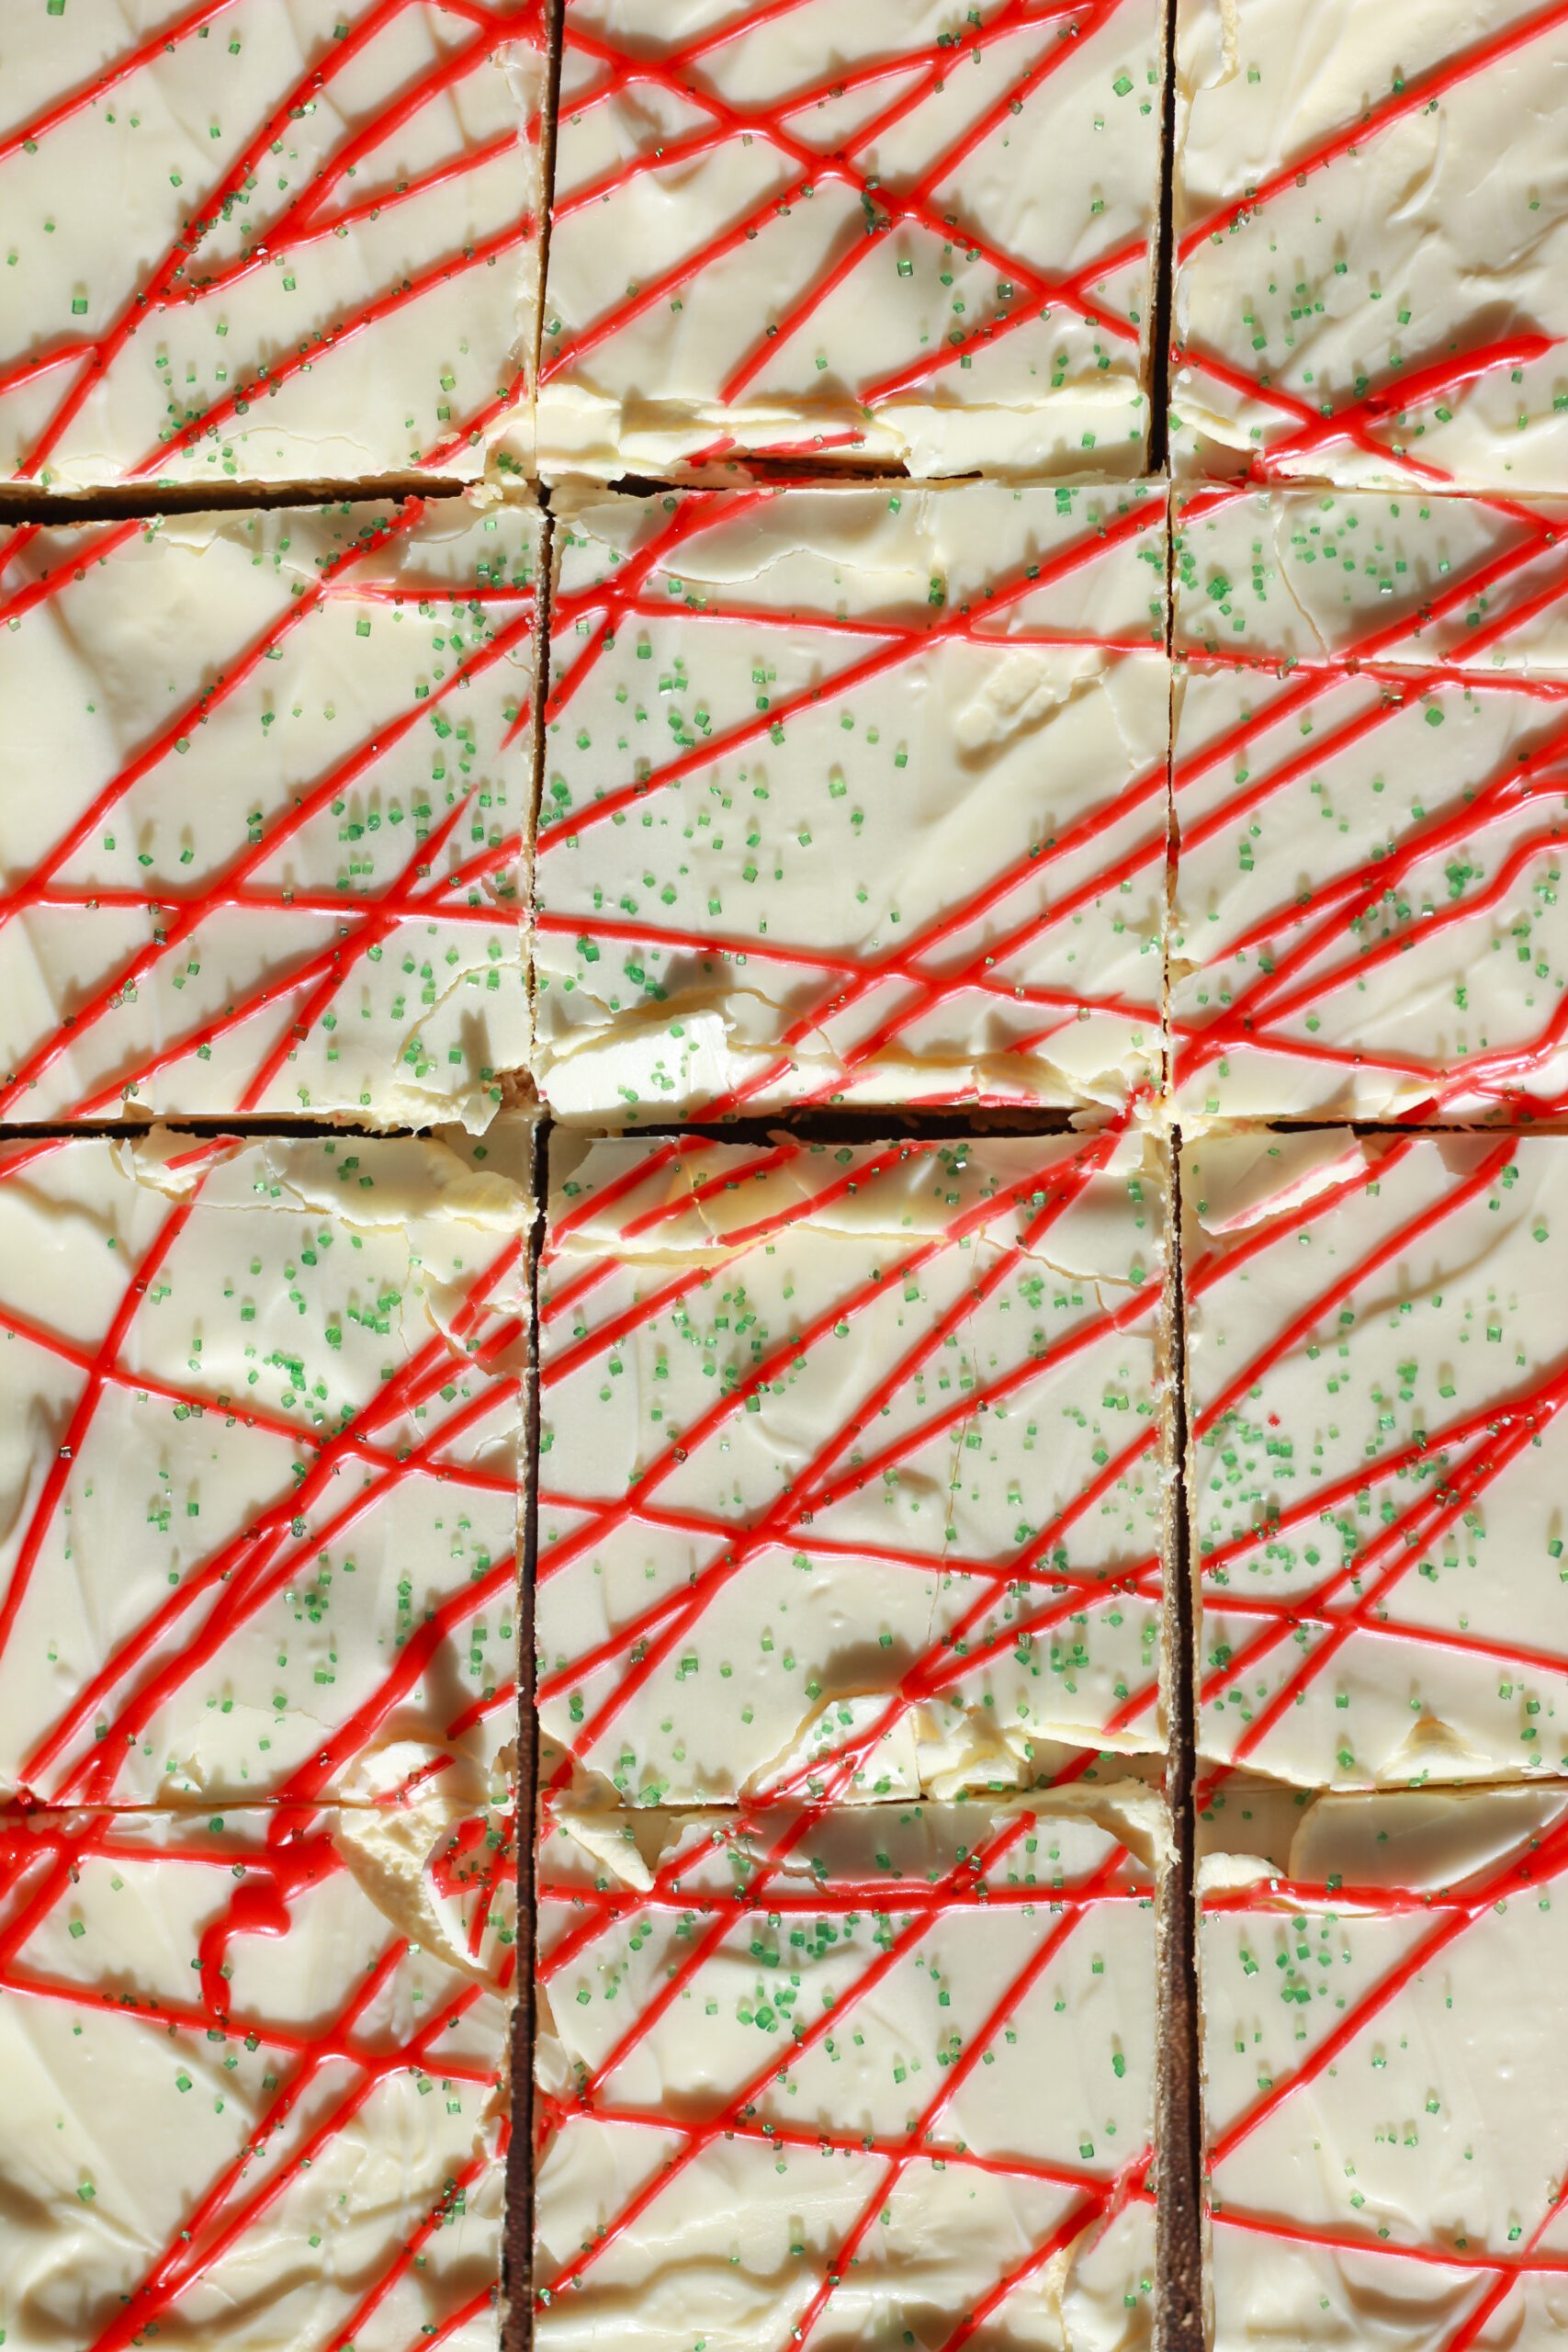
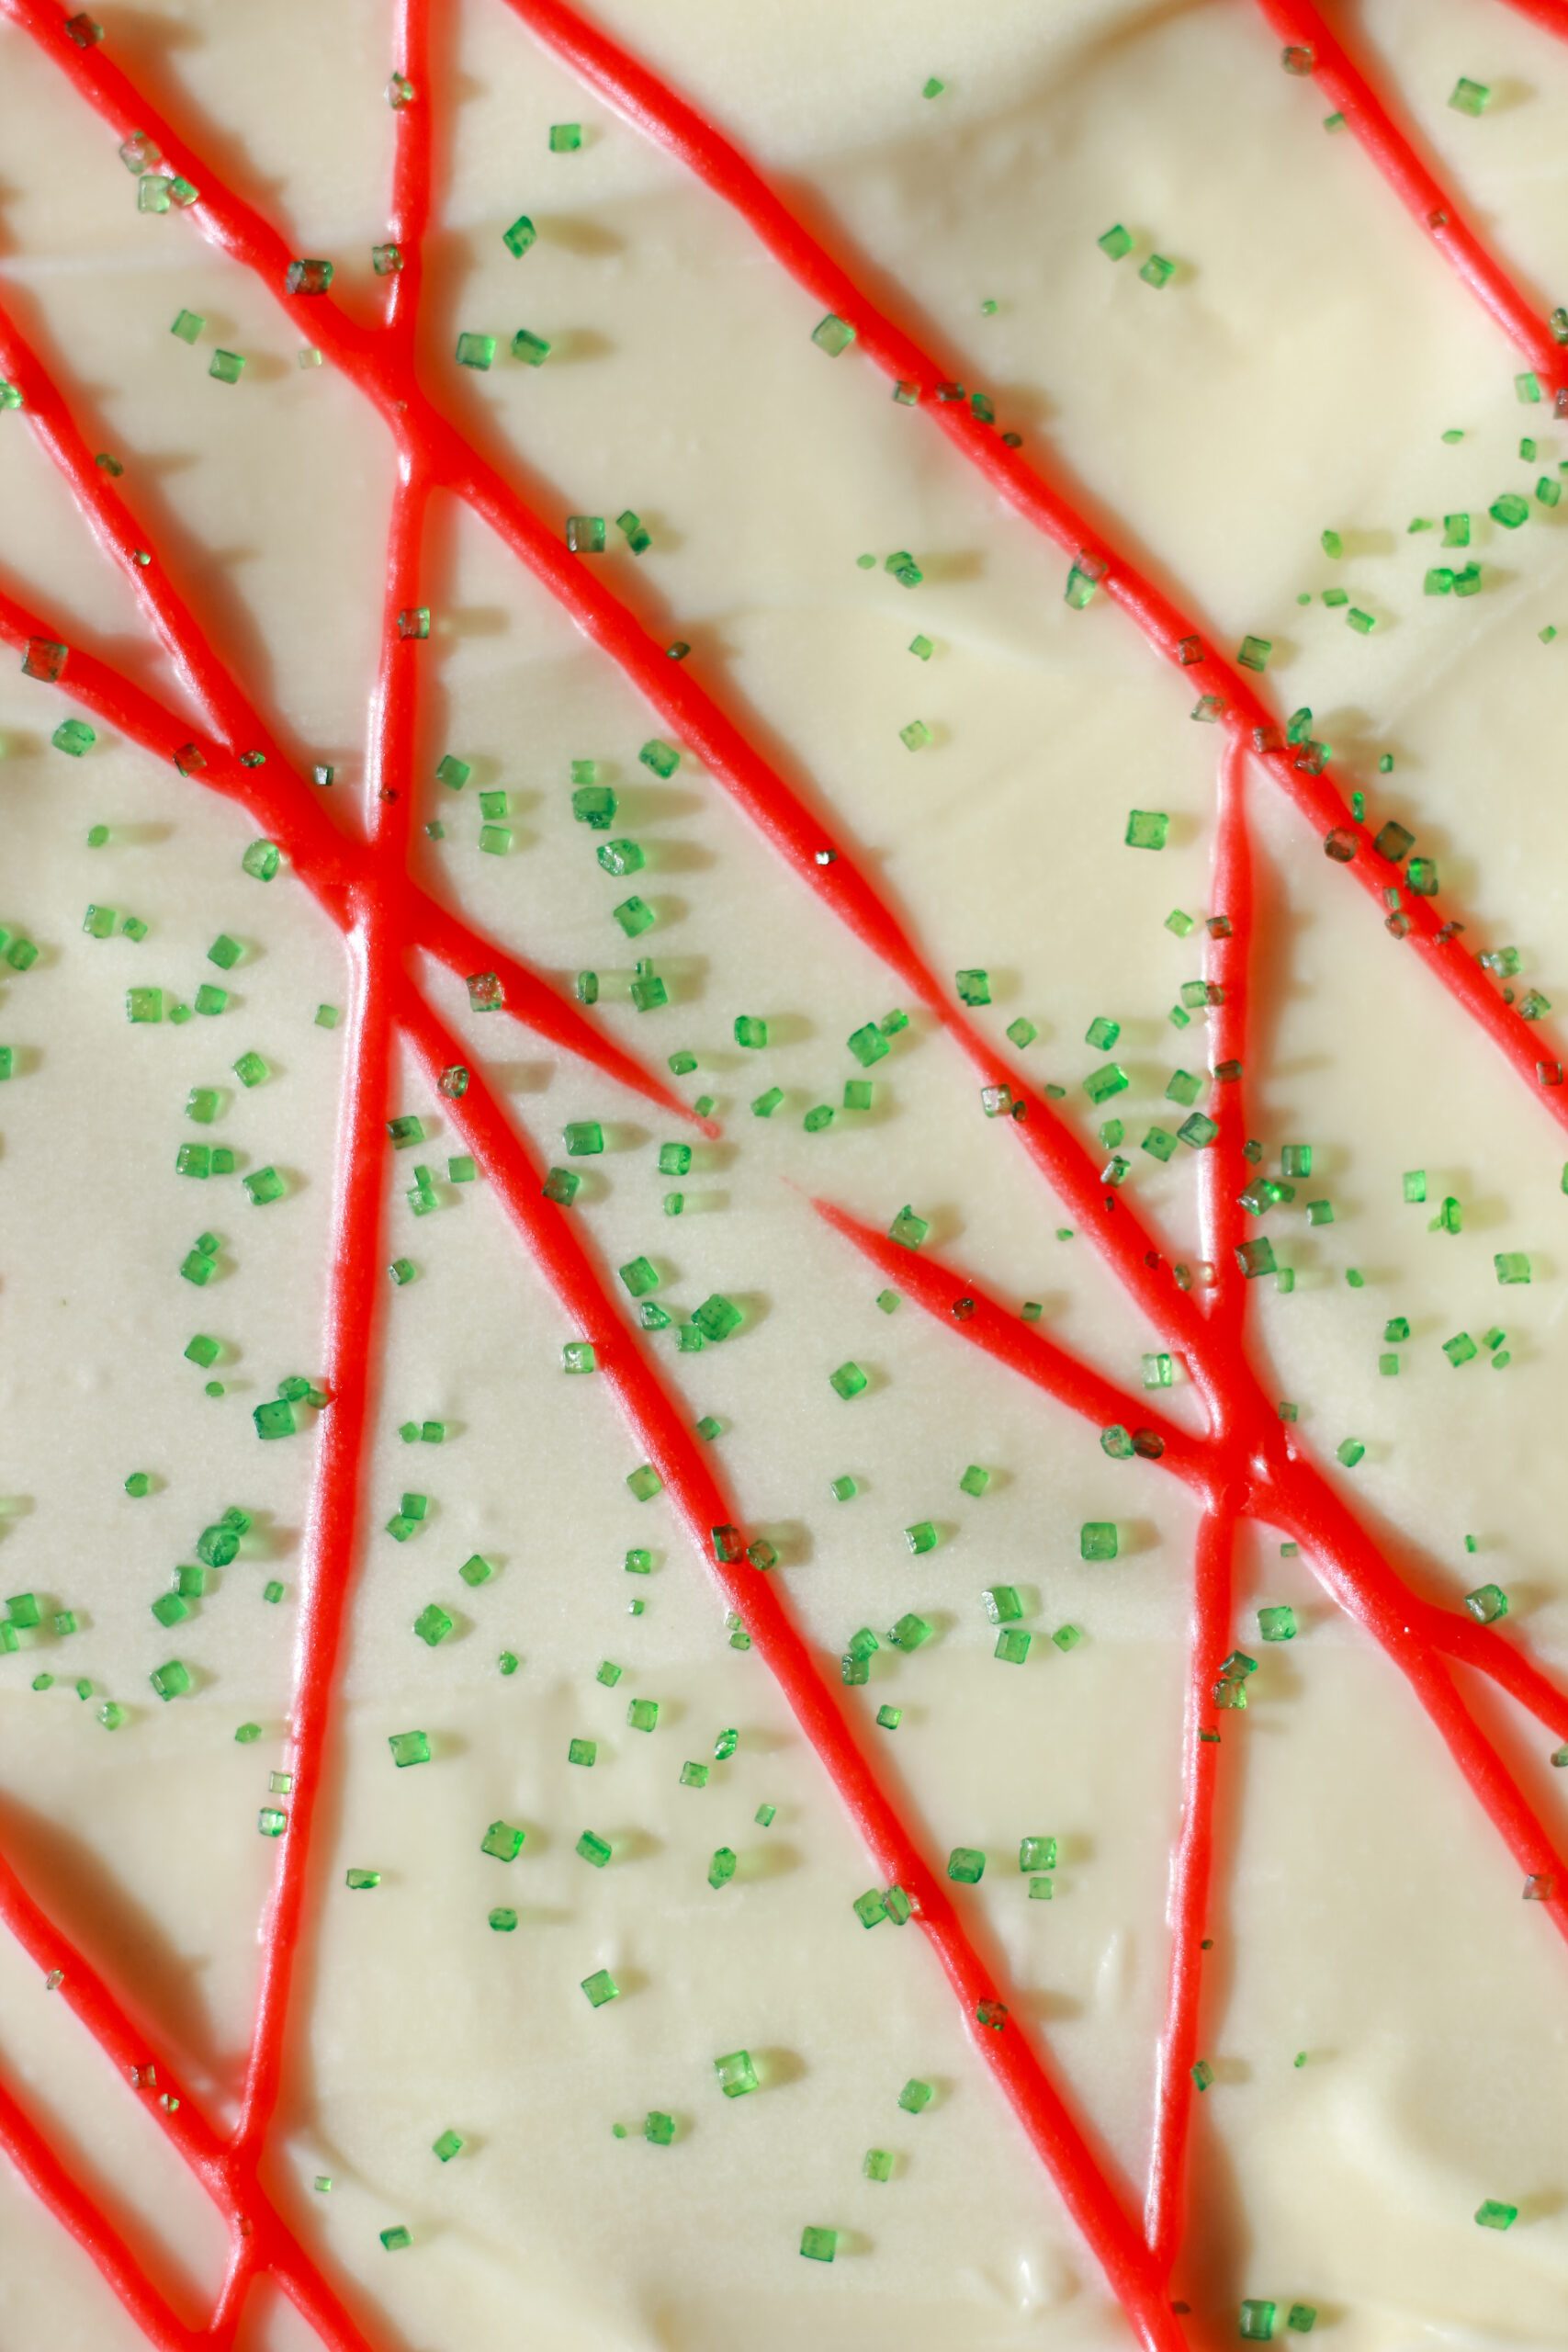
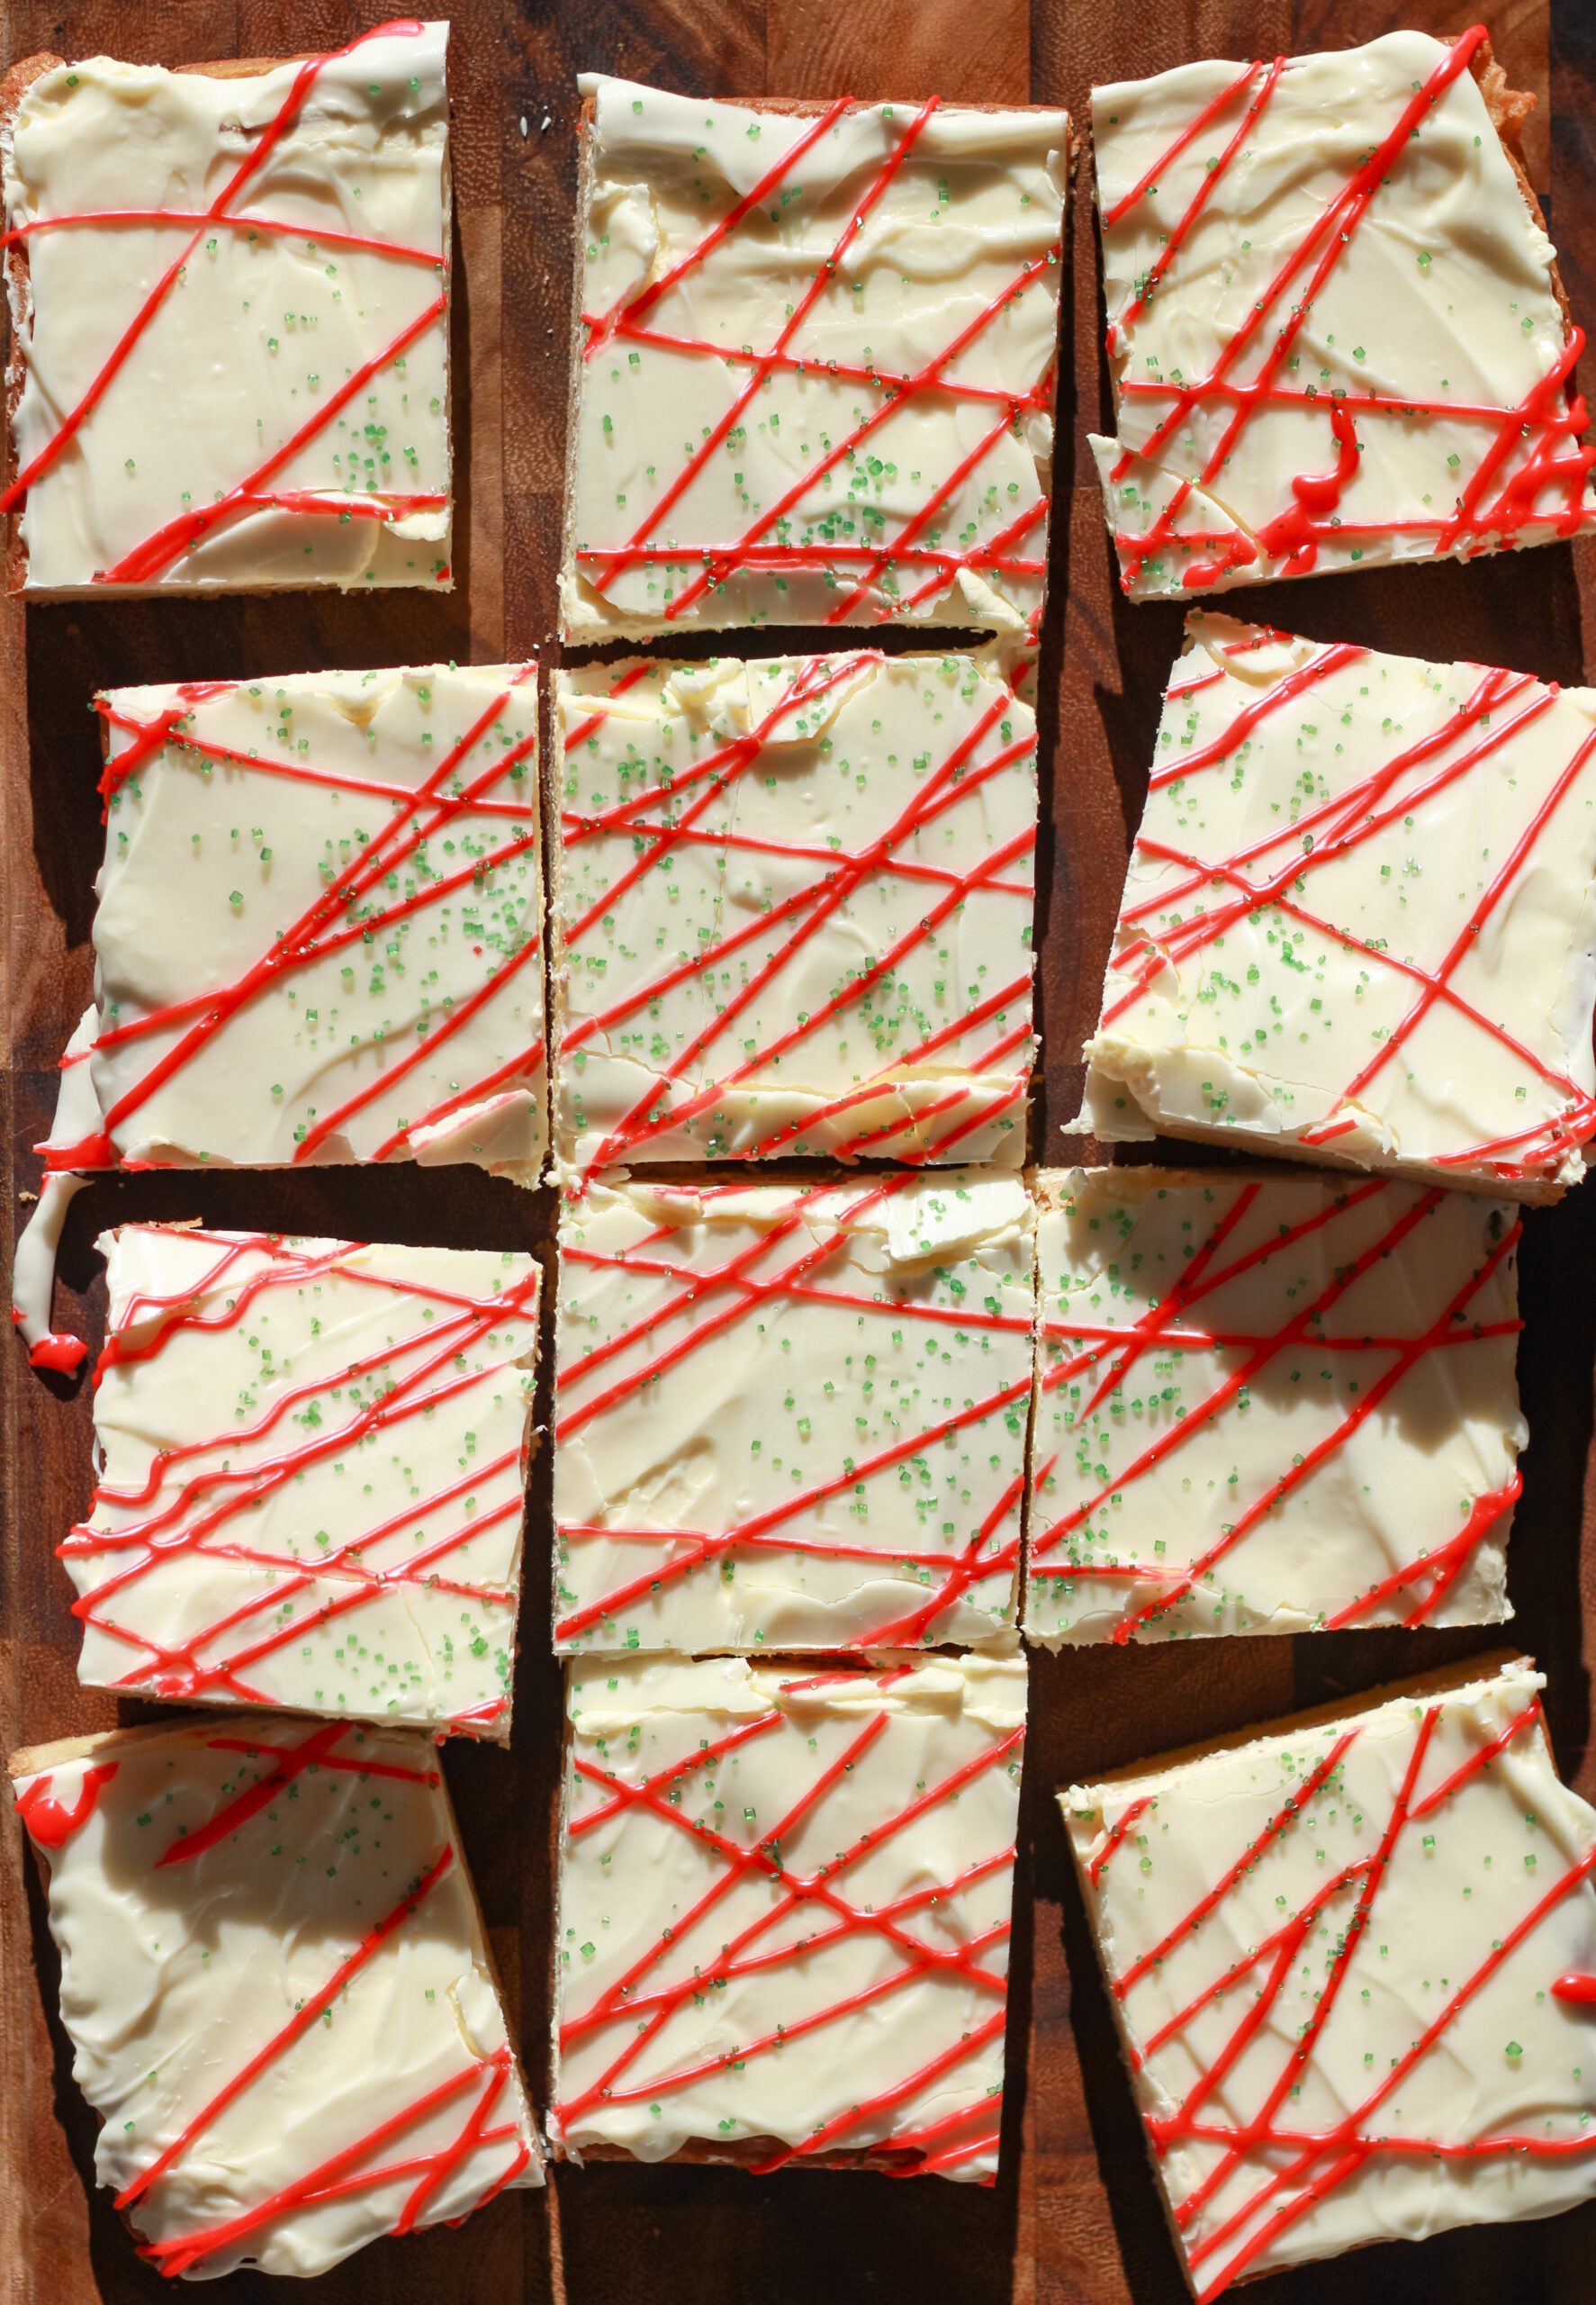
Decorate with drizzles of red decorative icing and green sprinkles! So cute, so iconic!
Step 5. Final chill before slicing a serving!
This extra chill is essential for the white chocolate to set on top. The white chocolate only takes about 10 minutes to solidify. Once the top is hard-set, take them out of the fridge to slice into 12-16 bars.
Tips for Perfect Blondies
- Egg yolks add chewiness! Our goal was to make a soft and chewy blondie that wasn’t dry. One way to do that is to make sure you have enough fat in your batter. Adding an egg yolk increases the fat content a bit, helping to make them deliciously chewy.
- Don’t over-mix your batter. Over mixing the batter can create a drier, tougher blondie.
- Melt chocolate with butter over medium heat. White chocolate melts best with a bit of fat. So to avoid clumping of your chocolate, we recommend melting butter and white chocolate chips in a pan together before blending into you batter.
- Use a sharp knife to slice bars. To get clean slices, use a large sharp knife to cut. That way you can slice smoothly slice through the layers.
Easily remove dessert bars from the pan with this trick!
No one likes to leave bits stuck to the bottom of the pan. Try this fool-proof method to remove brownies from the pan every, single time!
- Butter the pan. Making sure to cover the bottoms, corners, and sides.
- Place a piece of parchment paper on the bottom of the pan, making sure it is long enough to hang above the batter 1-2 inches. This parchment paper will act like a sling for your blondie.
- After the dessert bars are baked and cooled. It is important that they are cooled for at least 10-15 minutes before you lift them from the pan. Carefully lift up on both sides of the parchment paper and lift up out of the pan. Place them on a cutting board to decoriate.
How to store dessert bars…
Store in fridge in airtight container for up to 4 days.
More Yummy Recipes to Try:
Shop our Kitchen Favorites
@mozielife A new classic Christmas dessert we can’t get enough of: Little Debbie Christmas Dessert Bars! 🎄❤️ #christmasrecipe #littledebbie #nostalgia ♬ Holiday Bae Instrumental – SAMUEL GRACE
Little Debbie Christmas Dessert Bars
Description
These Little Debbie Christmas dessert bars feature a soft vanilla blondie base, whipped icing, and a white-chocolate coating with the classic red drizzle and green sprinkles. A nostalgic, festive, easy Christmas dessert perfect for holiday parties and winter baking nights.
Ingredients
Vanilla Blondies
- 1 1/2 sticks butter, melted
- 1/2 cup white chocolate chips, melted
- 1 1/2 cups brown sugar
- 2 eggs + 1 egg yolk, room temp
- 2 tsp. vanilla extract
- 1 1/2 cups flour
- 1/4 tsp baking powder
- 1/2 tsp salt
Icing and Chocolate Topping
- 1 cup butter, softened
- 1 cup powdered sugar
- 1 cup marshmallow Fluff
- 1 tsp vanilla extract
- 1 cup white chocolate chips
- 1 Tbsp coconut oil
- 1 package red decorating icing
- 2 tbsp green crystal sprinkles
Instructions
- Preheat oven to 350ºF. Butter and line an 9×13 inch rimmed baking pan with parchment paper. Buttering and lining the dish makes removing the bars super easy.
- In a medium bowl, whisk together your dry ingredients – flour, baking powder, salt and set aside.
- In a small saucepan over low heat, melt butter and white chocolate chips. Stir frequently to evenly melt the chocolate. Wait until it is just melted and smooth before removing from heat.
- Pour melted chocolate mixture into a separate bowl and whisk in vanilla and sugar. Whisk in eggs and egg yolk, one at a time until just blended together. Next add in flour mixture and fold into the batter with a spatula until the flour is fully mixed in. Careful not to over mix.
- Pour the batter into pan and spread into an even layer.
- Place in the oven and bake for 25-35 minutes until baked through. Use a toothpick or fork to test the doneness of the brownies. If your toothpick removes clean, the brownies are done. If not finished cooking, place back in the oven for 3-5 more minutes increments.
- Remove from oven and let the brownies cool for 10-15 minutes.
- While brownies are cooling, make the frosting. Using an electric stand mixer, whisk butter and sugar together. Add in marshmallow fluff, vanilla and mix until buttercream is fluffy.
- Spread icing over the top of the blondies in an even layer. Cover blondies with plastic wrap and place in the freezer for about 30 minutes to chill.
- Remove blondie sheet from the freezer. Melt white chocolate and coconut oil in a double boiler or in microwave (see note below for melting in microwave). Pour the melted white chocolate over the top of the blondies and spread in an even layer with icing knife or rubber spatula.
- Squiggle with red icing and sprinkle with green sprinkles. Let the icing set for at least 10 minutes before slicing.