This post may contain affiliate links, which means we’ll receive a commission if you purchase through our link, at no extra cost to you. See our disclosure here.
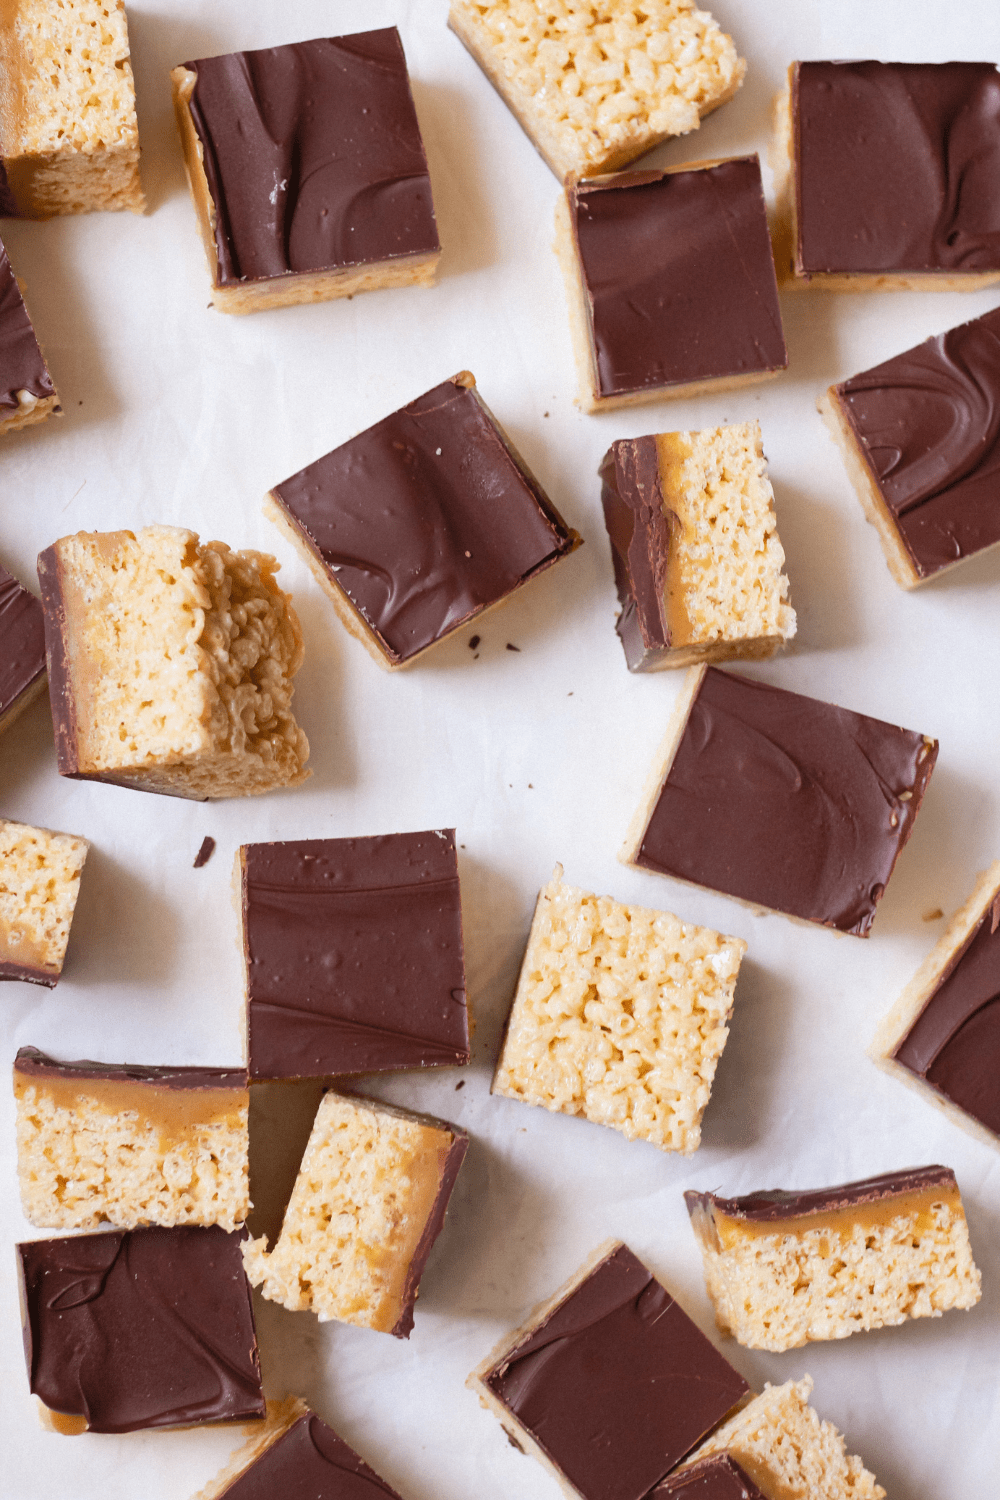
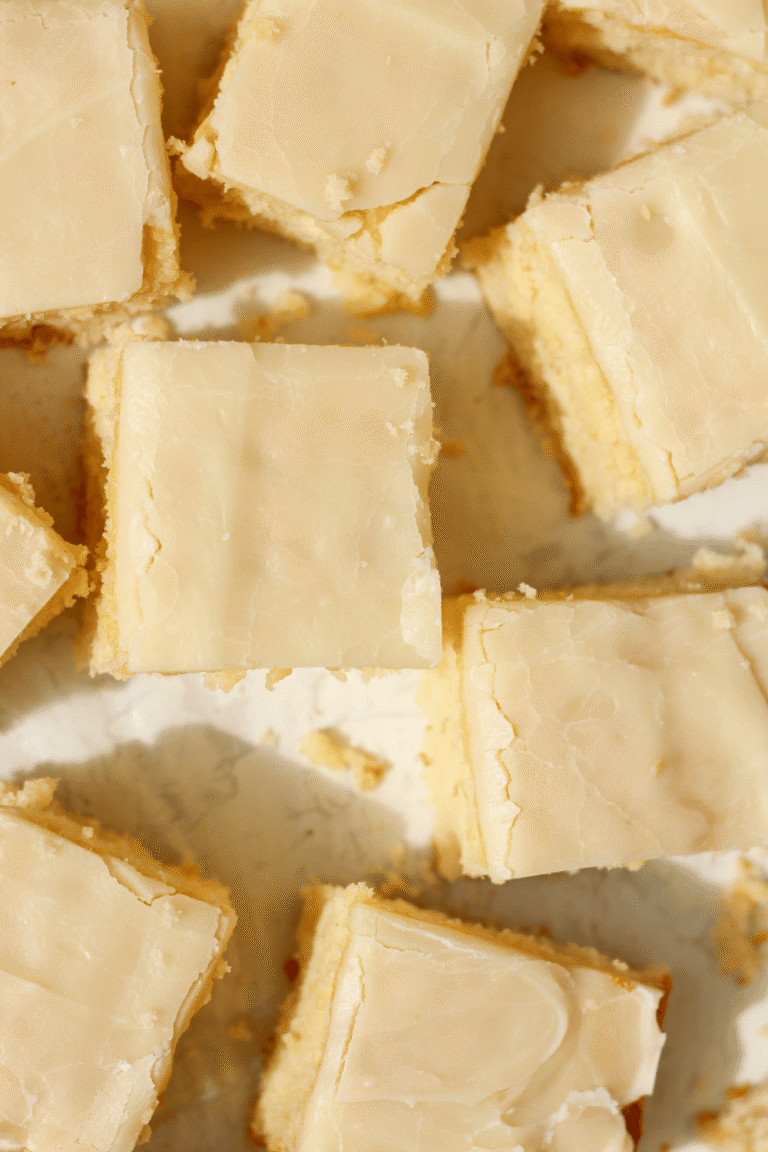
New obsession unlocked: No-Bake Twix Rice Krispies Treats. They’re everything you love about a Twix candy bar—but with a lighter, crispier twist!
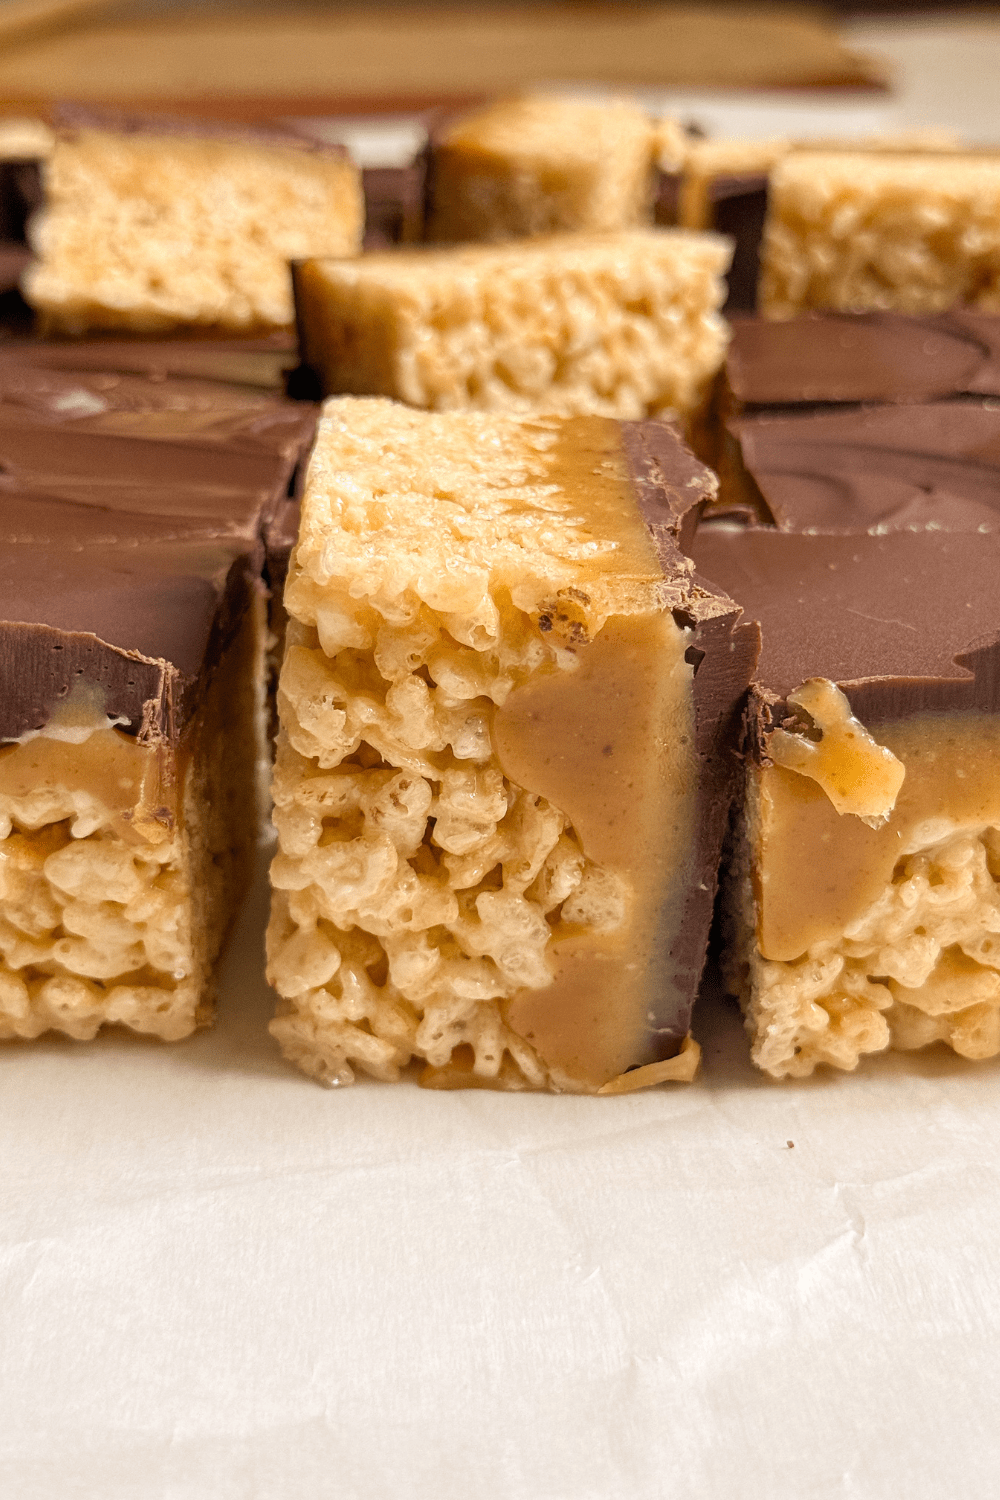
Each bite captures that familiar caramel-chocolate combo with a lighter, crispier base that will keep you coming back for more. It’s an easy layered dessert that feels nostalgic and fun, but a bit more sophisticated and refreshing.
Instead of the traditional shortbread cookie crust, this recipe starts with a gooey Rice Krispies treat layer pressed into a large rectangular baking dish. It still delivers that subtle vanilla base you expect, but with a slightly unexpected soft, chewy crunch. From there, a homemade buttery caramel sauce is spread on top, followed by a smooth chocolate layer for that classic Twix-style topping.
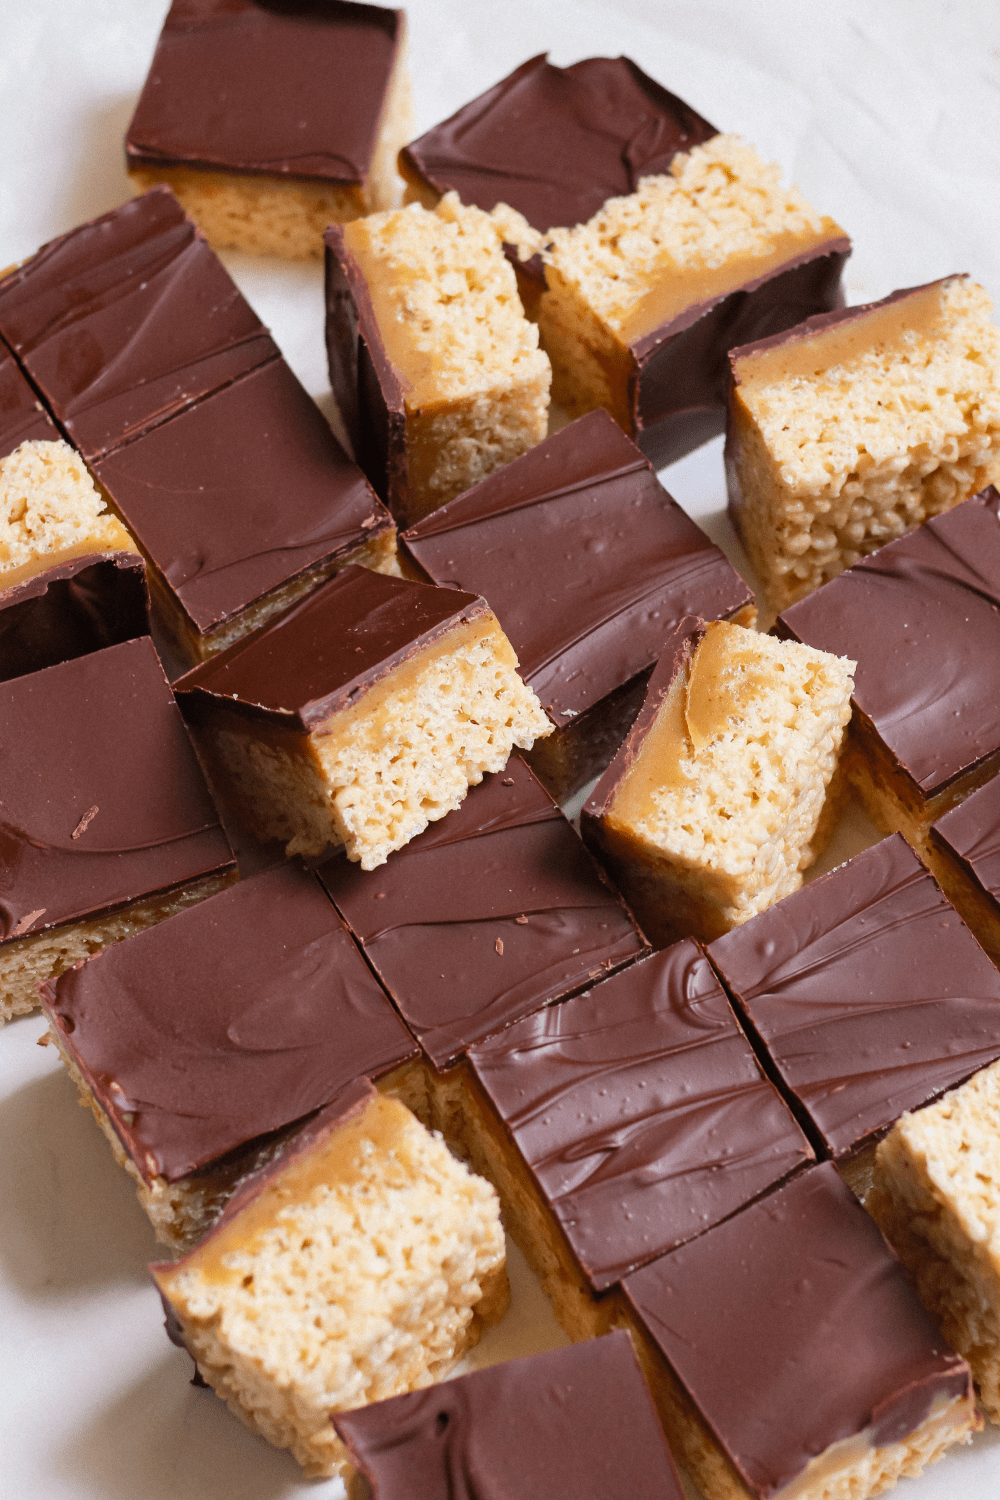
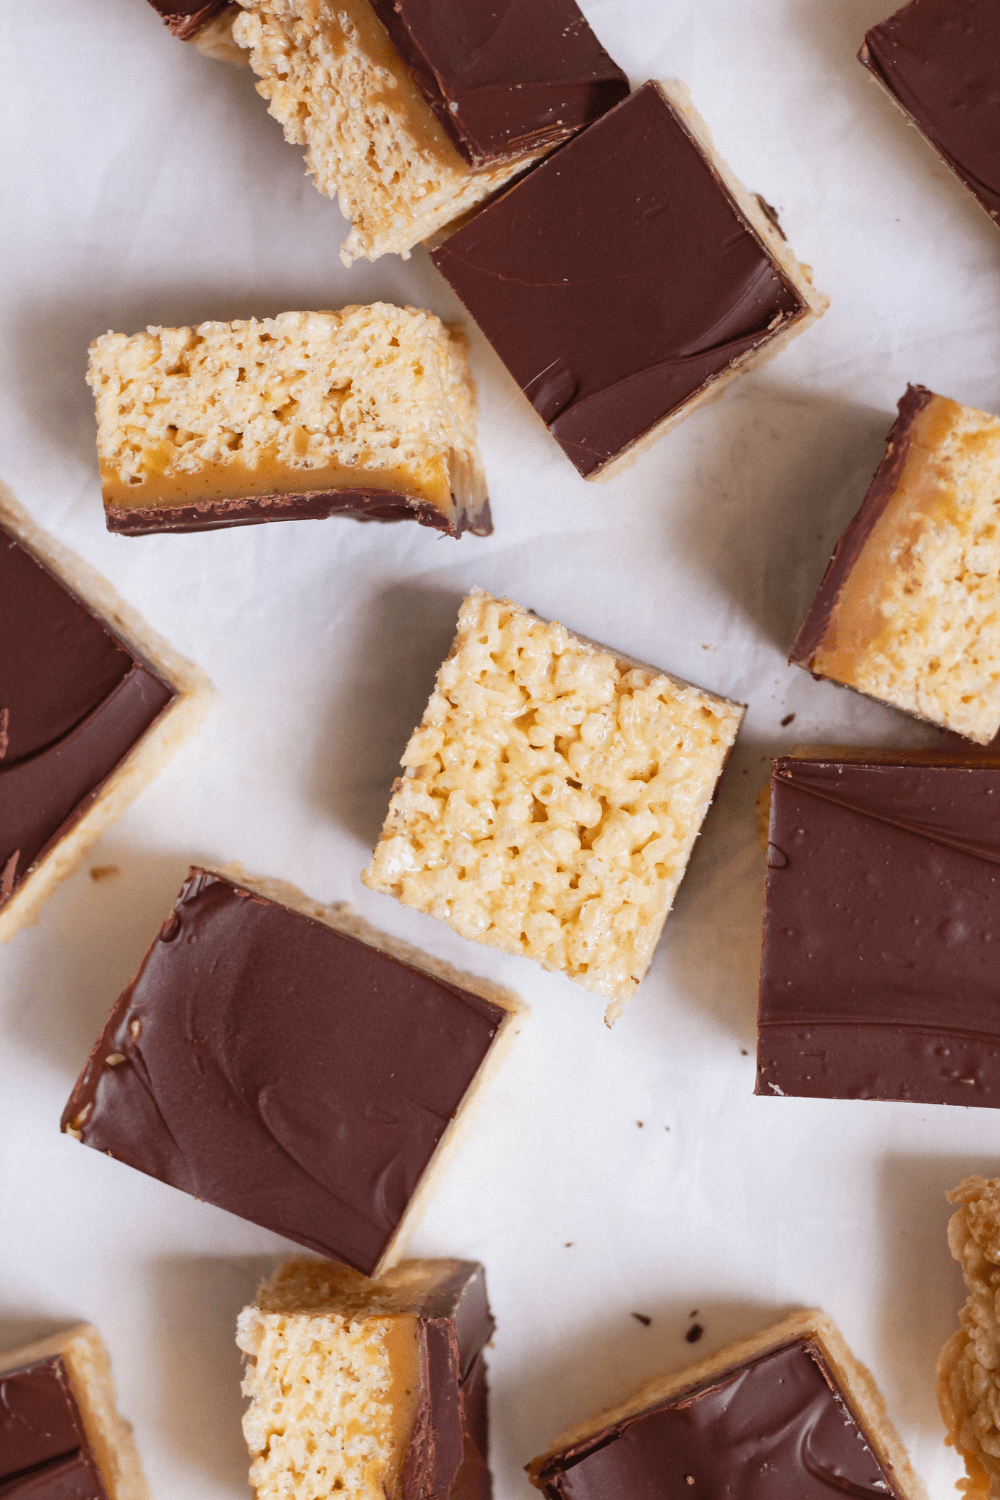
Once chilled, the bars are cut into squares. Or if you have a larger crowd, cut into bite-sized pieces for quick grabbing. No matter who or how you choose to serve these Twix Rice Krispies dessert bars, they are guaranteed to be a hit! They’re perfect for a movie night at home, serving at parties or gifting to coworkers or friends.
Why You’ll Love These Twix Rice Krispies Bars
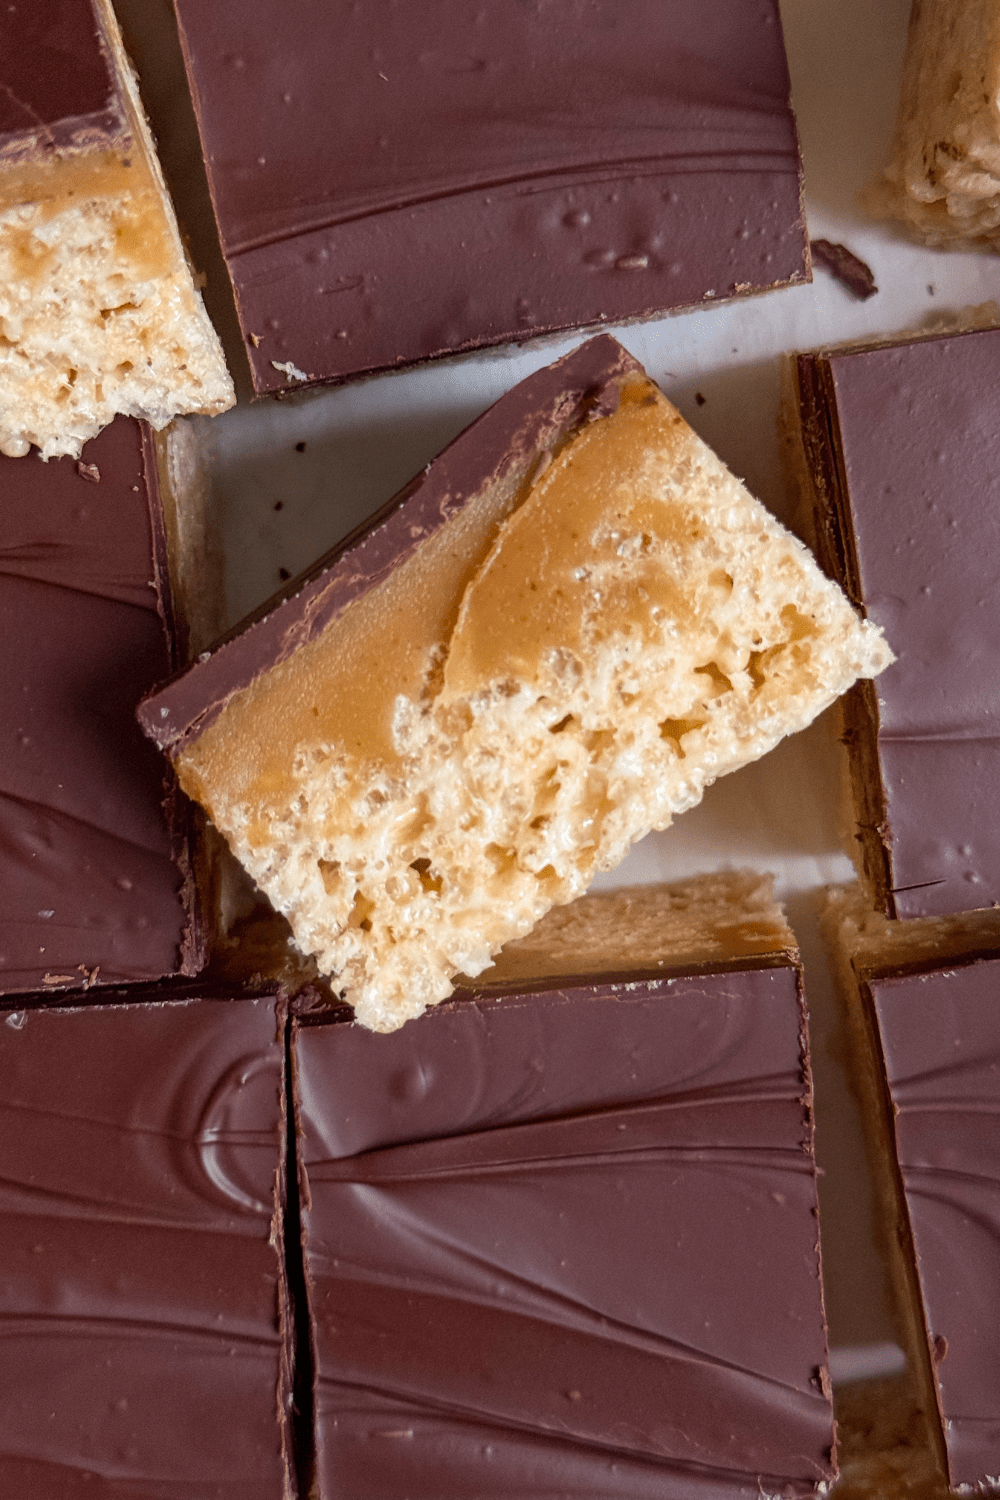
- Crispy, chewy, and gooey. These bars are so much more playful and fun than a Twix bar because they have three very contrasting layers that deliver with every bite – the soft, gooey marshmallow coated rice krispies, the luscious stretchy caramel that is topped with a silky smooth chocolate.
- Perfect summer treat! These bars are no-bake, which means your oven won’t heat up the house, making them perfect for warmer months.
- The Homemade Caramel is magical! It’s rich, buttery, and made blended with condensed milk and corn syrup for that signature gooey, stringy Twix texture that store-bought caramel can’t match.
Ingredients You’ll Need
Rice Krispies Treat layer
- Salted butter
- Mini Marshmallows
- Vanilla extract or vanilla bean paste
Homemade caramel sauce
- Salted Butter
- Brown sugar
- Light corn syrup
- Sweetened condensed milk
- Pinch of salt
Chocolate layer
- Semi-sweet chocolate chips
- Coconut oil
How to Make these Twix Rice Krispies Treats, Step By Step
Step 1. Make the Rice Krispies Treats and chill.
Rice Krispies are super simple and quick to make, but you will need to work quickly when the marshmallows start melting.
Start by heating butter in a large pot or dutch oven. We used salted butter to cut some of the sweetness of the treats. When the butter starts to melt and bubble, this is when you add in the mini marshmallows.
Continue to stir the mixture until the marshmallows are cooked down and melty. Once your marshmallows are completely melted, stir in vanilla extract before adding in the cereal.
Fold in Rice Krispies cereal into the melted buttery marshmallows until the cereal is evenly coated. This is where you have to work quickly because the marshmallows will start to cool down and harden quickly.
Dump the gooey mixture into a greased, parchment-lined baking pan and gently press the Rice Krispies mixture into the pan.
Tip: Lightly wet your hands when pressing the cereal treats into the pan. The Rice Krispies will be very sticky. If you lightly wet your hands, you can press the gooey mixture down into the pan without much marshmallow sticking to your fingers.
Step 2. Make caramel sauce on the stove top. Pour and spread over the Rice Krispies treats.
In a separate pot, over medium heat, melt butter, brown sugar, corn syrup, sweetened condensed milk, and salt until the mixture starts to bubble and boil. Continue to heat the mixture for about 20 minutes total until it reaches a temperature of about 235ºF.
Remove the caramel from the heat and stir while it cools for several minutes. Pour the melted caramel over the top of the Rice Krispies treats and chill the treats in the freezer for about 20 minutes to set the caramel.
Tip: The condensed milk and corn syrup give the caramel that iconic, super gooey Twix texture.
Step 3. Melt the chocolate chips and spread them over the top.
These bars are finished with a layer of melted chocolate on top. Melt semi-sweet chocolate chips with a couple of teaspoons of coconut oil in the microwave for 30-second increments until the chocolate is melted and smooth.
Pour the melted chocolate over the chilled bars and use a spatula or frosting knife to spread in an even layer over the top of the bars.
Step 4. Final chill to set the bars. Slice and serve!
Before you slice the bars, place them back in the refrigerator to chill for 20-30 minutes until the top has set. Slice into 24 large squares or 48 small, rectangular, bite-sized bars.
Tips for Making Twix Rice Krispies
- Butter and line a pan with parchment paper. These are super gooey, so the butter will keep the marshmallow from sticking to the sides of the pan. Parchment paper will act as a sling to easily remove the treats from the pan.
- Chill in the fridge or freezer between each layer. This will allow the Rice Krispies base to set before you add the melted caramel. The same goes for the caramel layer; chilling the caramel before adding the chocolate on top will help solidify the caramel before the melty chocolate goes on top. We also recommend chilling a final time at the end for a clean slice.
- Add condensed milk and corn syrup to the caramel sauce. To achieve that gooey, milky texture of a Twix bar, you’ll need to add condensed milk and corn syrup. It will give the caramel a “stretchy” soft texture.
- Melt chocolate with coconut oil for a smooth, glossy finish. As the coconut oil melts with the chocolate, it will create a thinner, smoother texture that is great for spreading over the top of the bars. It’s also a foolproof way to prevent clumping in the chocolate, as it melts.

Simple Swap: two-ingredient caramel sauce
If you want a simpler way to make caramel for these bars, here’s what we recommend. We used this method to make a yummy caramel sauce for our toasted coconut caramel brownies.
What You Need:
- 15 oz soft caramels
- 3 tbsp heavy cream
Directions:
- Remove the soft caramels from their wrapping. You want to melt 15 oz of caramels.
- In a saucepan over medium heat, melt caramels and heavy cream. Stir continuously so it doesn’t burn. (It could take some time for the caramels to melt. Once they start to melt, they will melt quickly.)
- As soon as the caramel is melted, pour it over the Rice Krispies treats and chill to cool.
Easily remove the dessert bars from the pan with this trick!
These bars are sticky, but we have a foolproof way of removing them from the pan.
- Butter a 9×13-inch pan. Make sure to coat the bottoms, corners, and sides.
- Place a piece of parchment paper on the bottom of the pan and make sure it is long enough to hang above the pan 1-2 inches on either side. This parchment paper will act like a sling for your dessert bars.
- After the bars are assembled, carefully pull up on both sides of the parchment paper to lift the bars out of the pan. Place them on a cutting
How to Store Twix Rice Krispies Treats
Cool the Rice Krispies Twix Bars completely before storing. Store in an airtight container, in a cool dry place or the fridge for 2-3 days.


No-Bake Twix Rice Krispies Treats
- Total Time: 2 hours
Description
Twix but with a fun crispy gooey twist! These dessert bars start with a base layer of gooey rice krispies treats and are topped with a layer of homemade caramel and finished with a chocolate topping.
Ingredients
Rice Krispies
- 1 stick salted butter
- 16-oz bags of mini marshmallows
- 9 cups Rice Krispies cereal
- 1 tsp vanilla extract/ vanilla bean paste
Homemade Caramel Sauce
- 1 cup butter
- 1 cup brown sugar
- 1/4 cup light corn syrup
- 14 oz sweetened condensed milk
- 1/2 tsp salt
Chocolate Topping
- 12 oz semi-sweet chocolate
- 2 tsp coconut oil
Instructions
Rice Krispies Layer
- Start by lightly greasing a 9×13 pan with 1 tbsp softened butter and lining it with parchment paper.
- In a Dutch oven over medium heat, melt butter until bubbly and golden. Pour the marshmallows into the pot and stir with a rubber spatula until they are completely melted. Be careful not to overcook because they melt quickly.
- Once melted, remove the mixture from the heat and mix in vanilla extract. Pour Rice Krispies cereal into the pot and stir until evenly incorporated. Make sure there aren’t any large clumps of melted marshmallow at the bottom of the pan. Remove from heat.
- Quickly, pour the Rice Krispies mixture into your greased pan and press it down. Lightly wet or grease your hands and press them into the pan until evenly filled.
- Cover with foil or plastic wrap and chill in the freezer for about 15 minutes or at room temperature for about an hour to set.
Caramel Layer
- In a pot over medium heat, add caramel ingredients. Stir frequently. The mixture will start to bubble. Heat until it reaches the soft ball stage (about 235-245ºF). This should take about 15-20 minutes total. Remove the caramel from the heat and stir for a couple of minutes to thicken.
- Pour caramel over the cooled Rice Krispies and chill in the fridge for 1-2 hours or in the freezer for 20 minutes.
Chocolate Layer
- Pour the chocolate chips and coconut oil into a bowl. Heat in microwave for 30-second increments, stirring between, until melted.
- Pour the chocolate mixture over the caramel mixture and return to the fridge to harden for about 15-20 minutes. This will also give them a really clean slice.
- Remove and slice into squares.
- Prep Time: 20 minutes
- Chill Time: 1 hour
- Cook Time: 40 minutes